Hey, good question. Having tinkered with that assembly so much, I must have neglected to illustrate the whole "put it all back together" procedure step-by-step in this article. The important thing to keep in mind is the hammer pivots on a "blue" pin as illustrated. The "red" pin is preventing the hammer spring from rotating. The trigger in turn pivots on a "green" pin. I may update the article in the future to illustrate more of the internals of the trigger assembly but for now I suggest that you document/photograph how the trigger assembly is put together and use that to reverse the take-down steps and bring everything back to working order.
The CZ 512 is a great rifle. However, its accuracy and general reliability is often overshadowed by its awful trigger. In 2016, CZ put in a major update to the internals, including the trigger parts. That change, however, did not make substantial improvements in the creep and weight of the trigger and, to this day, people are noting rough machine marks on the sear engagement surfaces. Please note that this guide is specific to the post-2016 model that has only one recoil spring.
Through trial and error, I've got my CZ 512 trigger to where I can honestly say that it's 'not bad'. It's not quite as crisp and light as one can tune the CZ 455 trigger to, but I feel it's a big improvement.
My proposed changes will make permanent modifications to the geometry of the trigger, so I highly suggest you buy a spare ($35 at CZ Store). We will only be altering the geometry of that part. While we will be polishing the sear portion of the hammer, the removal of material on the hammer is negligible.
With the introduction out of the way, let's get started.
Rifle Disassembly
Most people who are brave enough to make the necessary modifications can probably skip ahead as they can already disassemble it in their sleep.
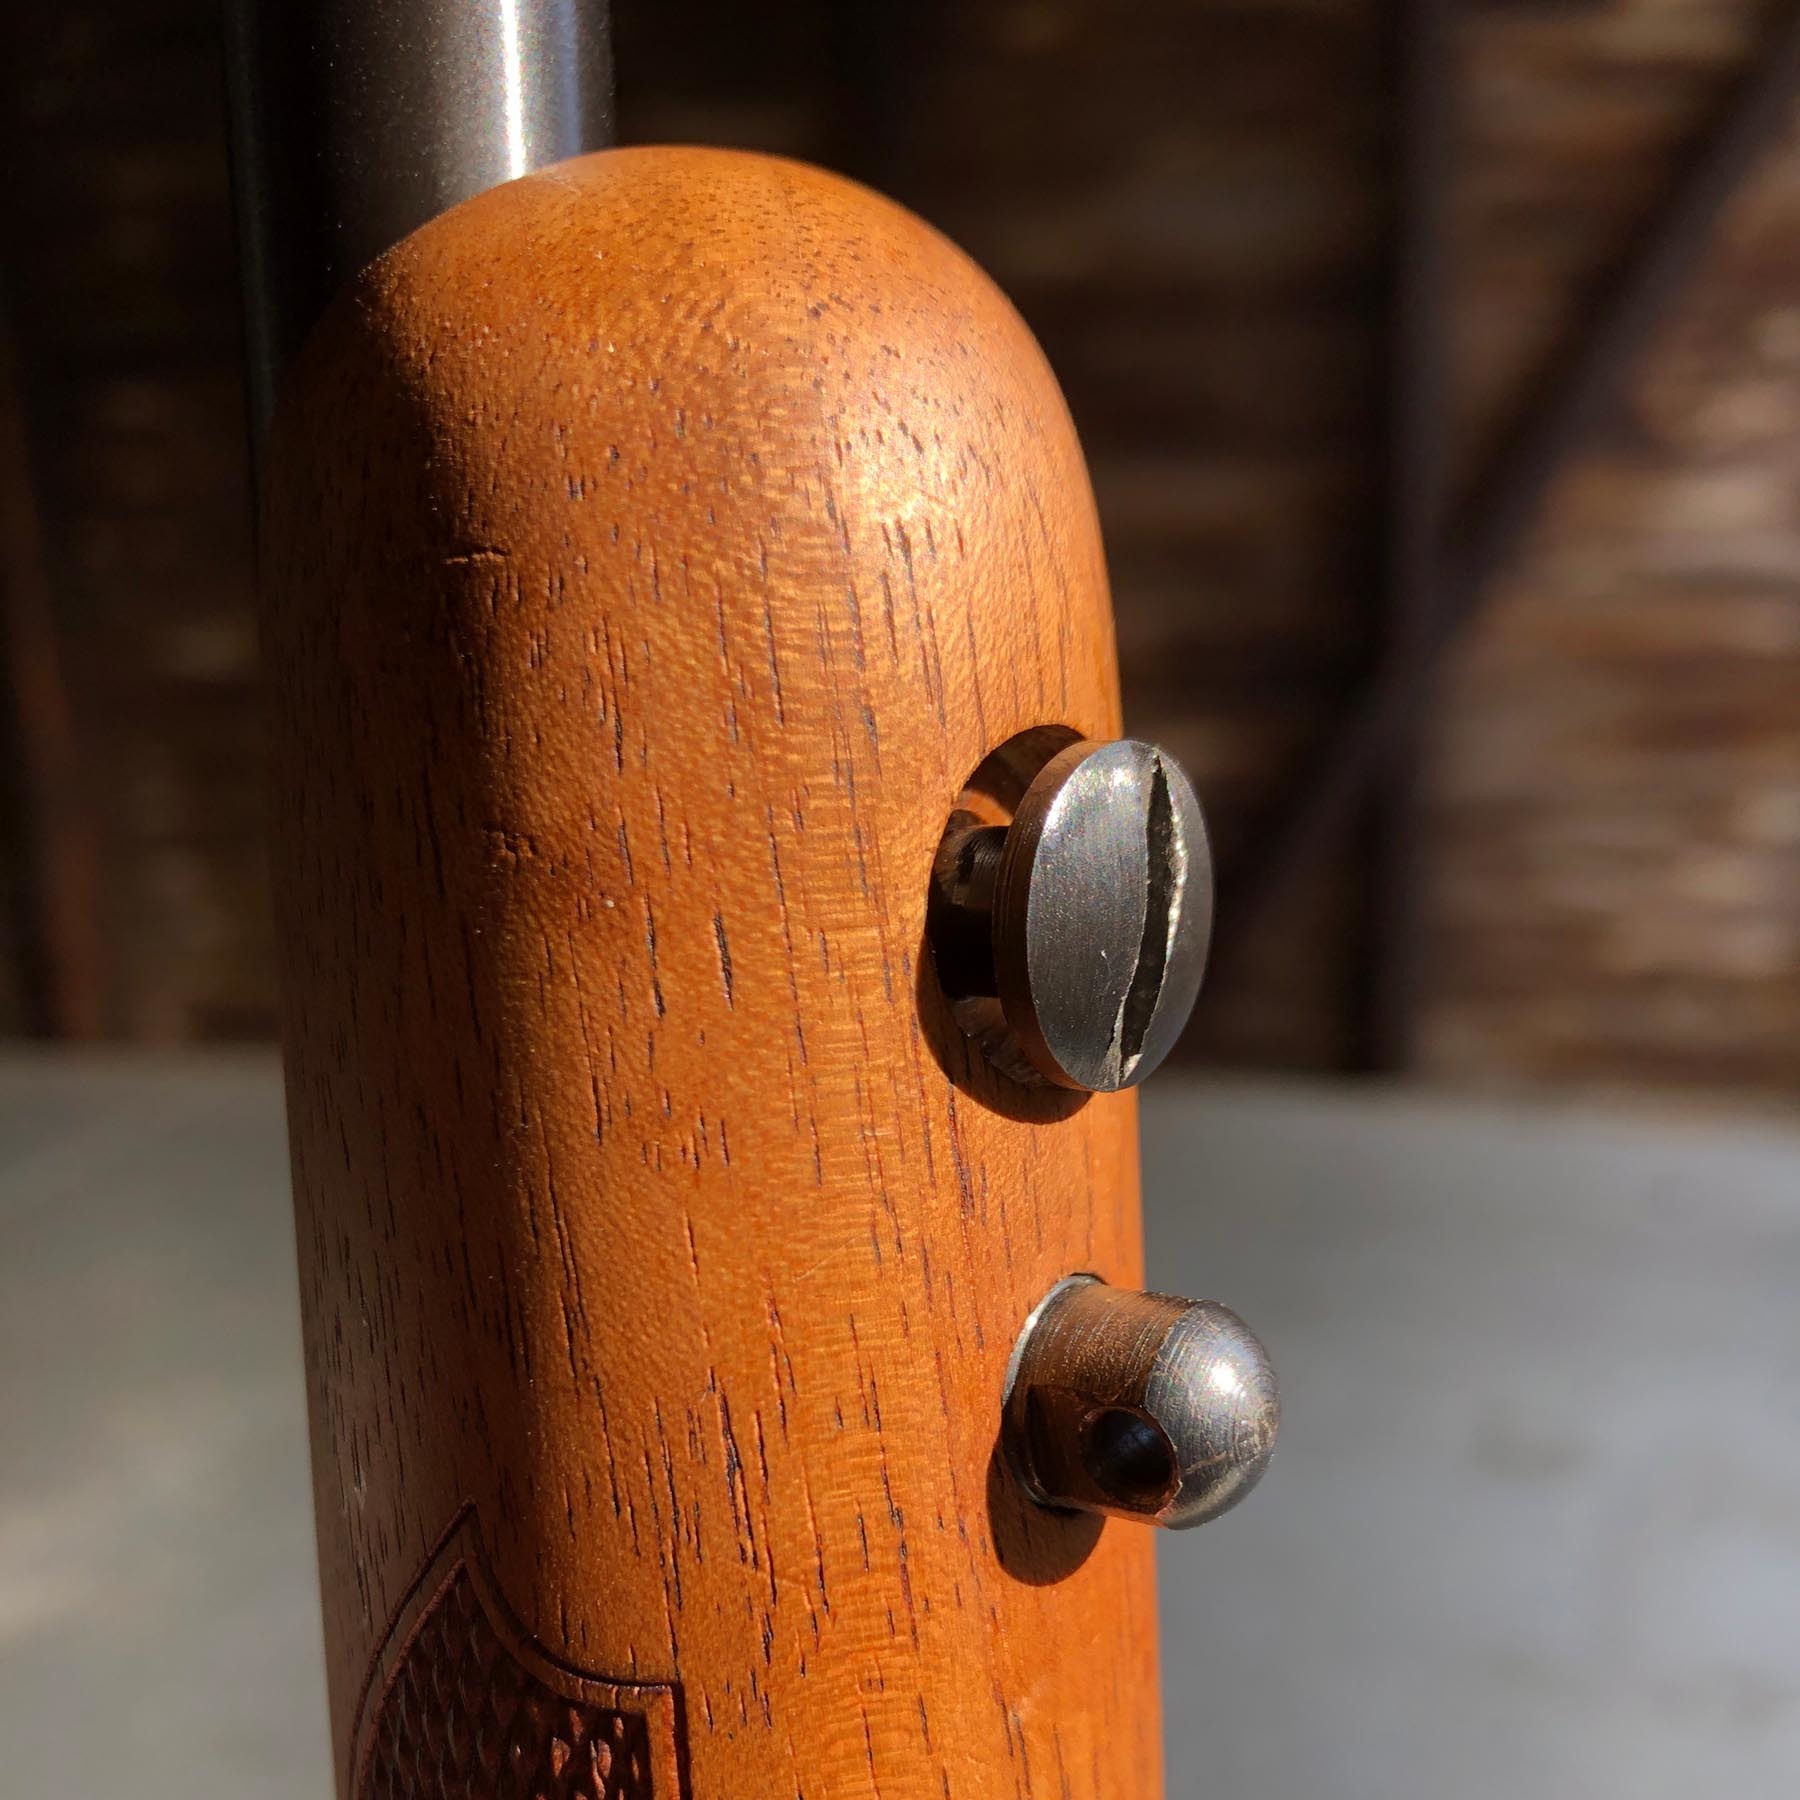
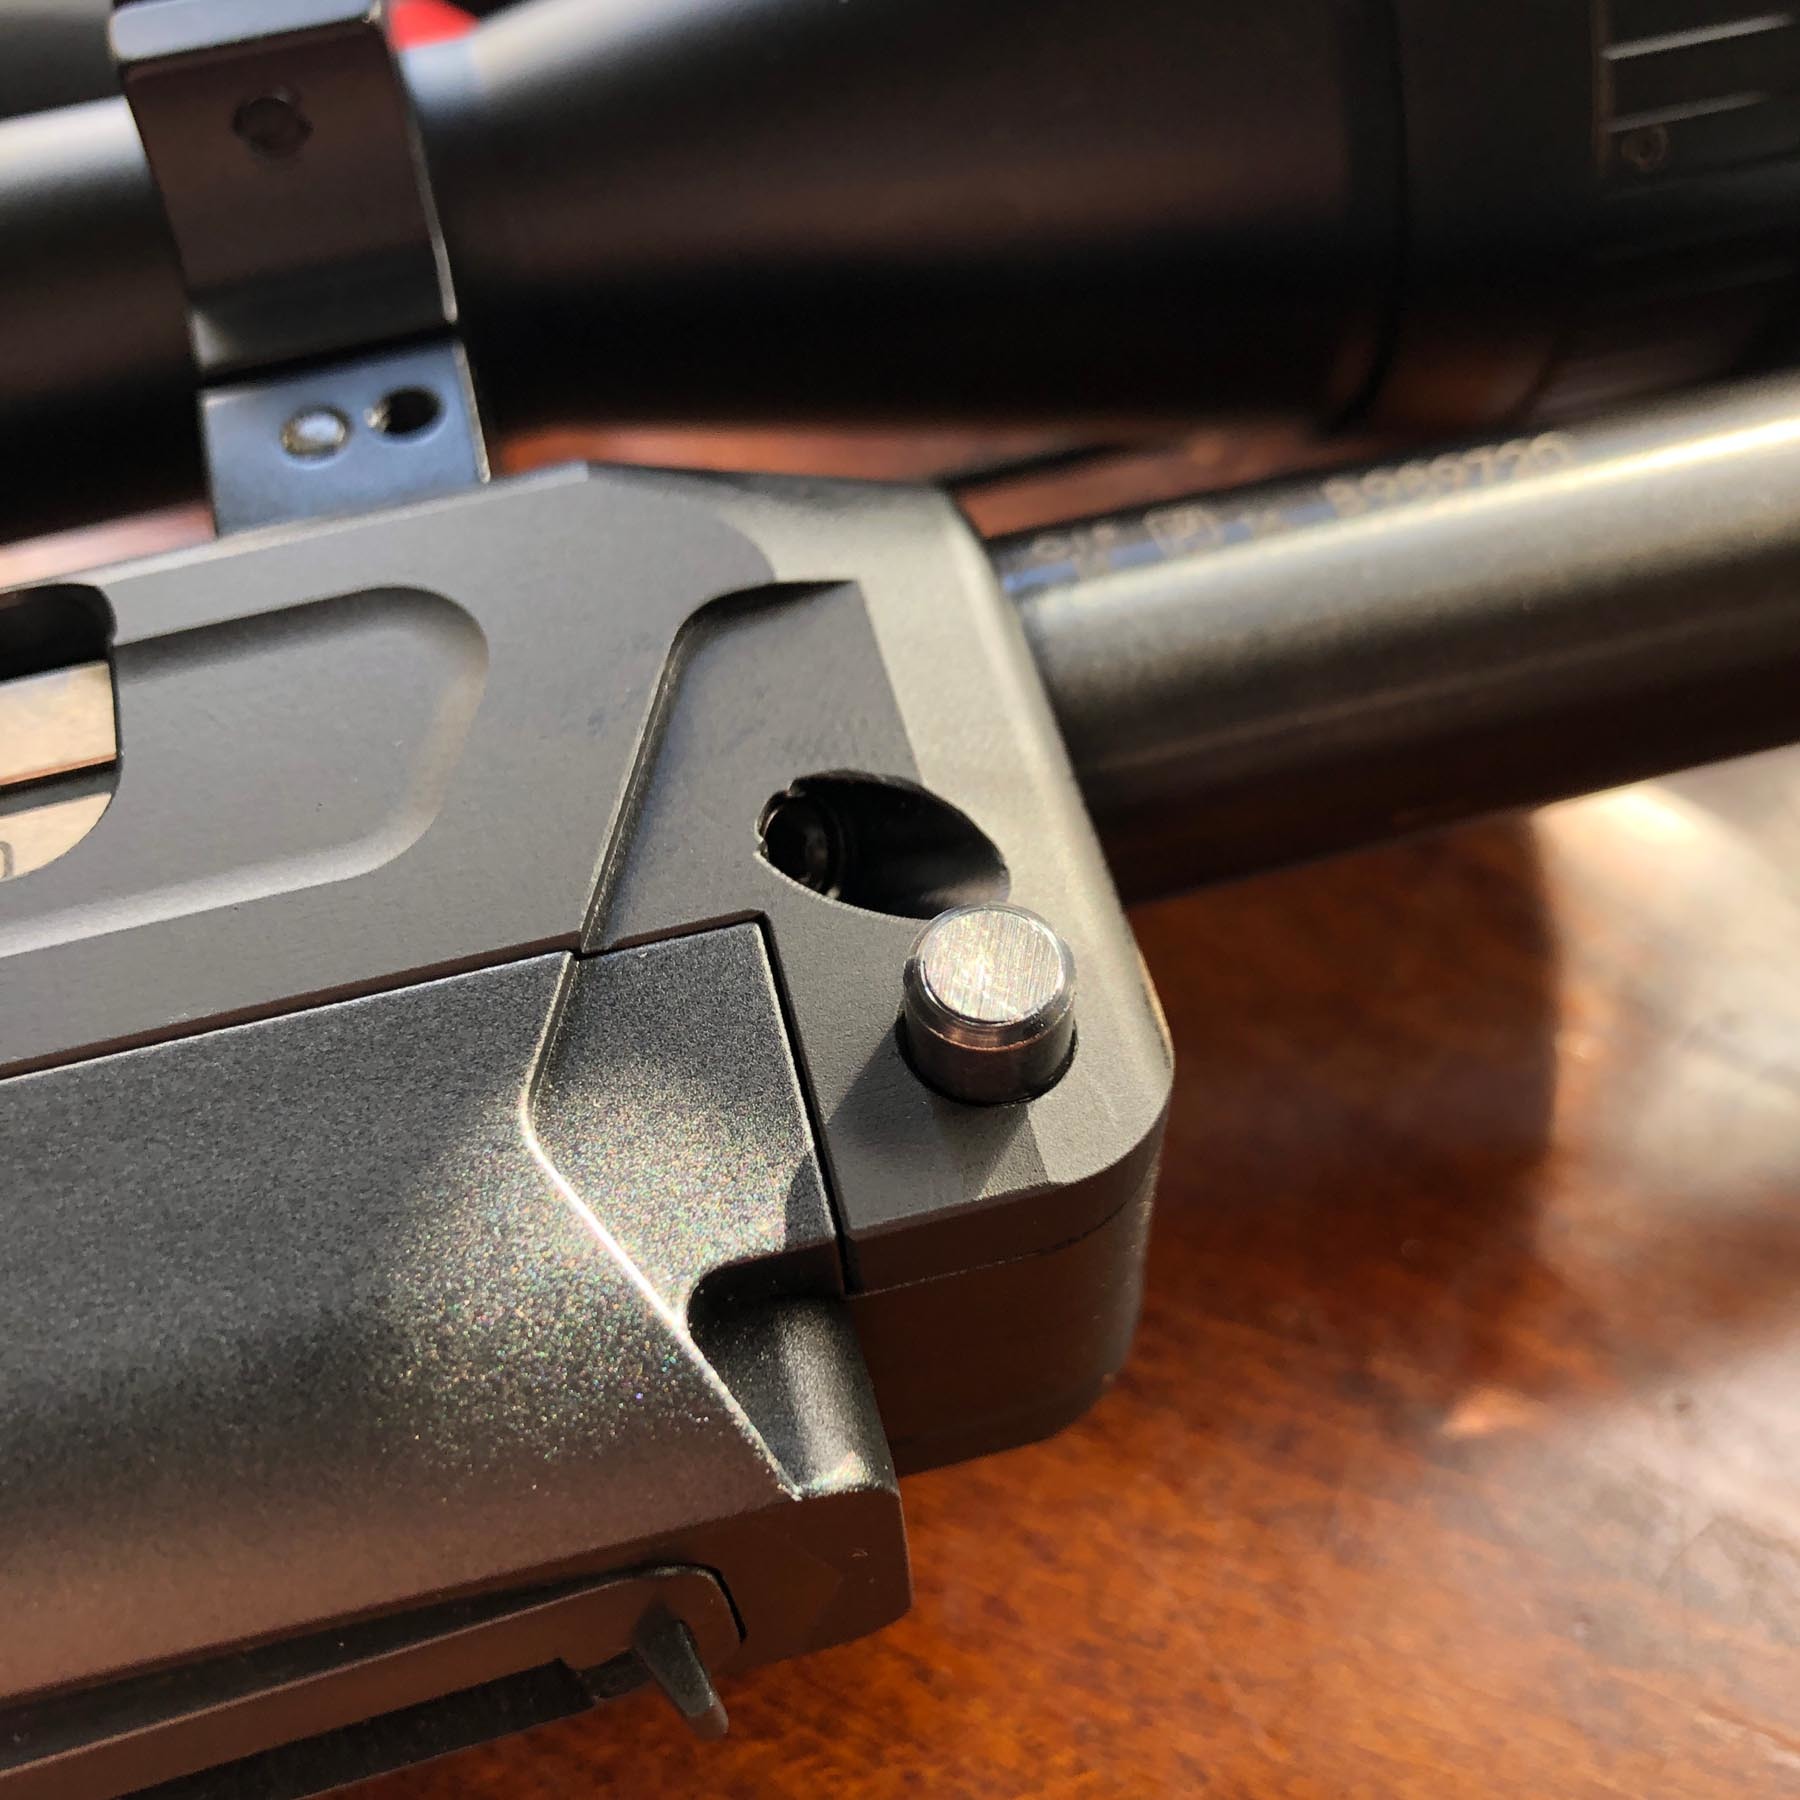
Remove the front bolt.
Using the bolt that you just removed, push out the front pin that holds the upper and lower receivers together.
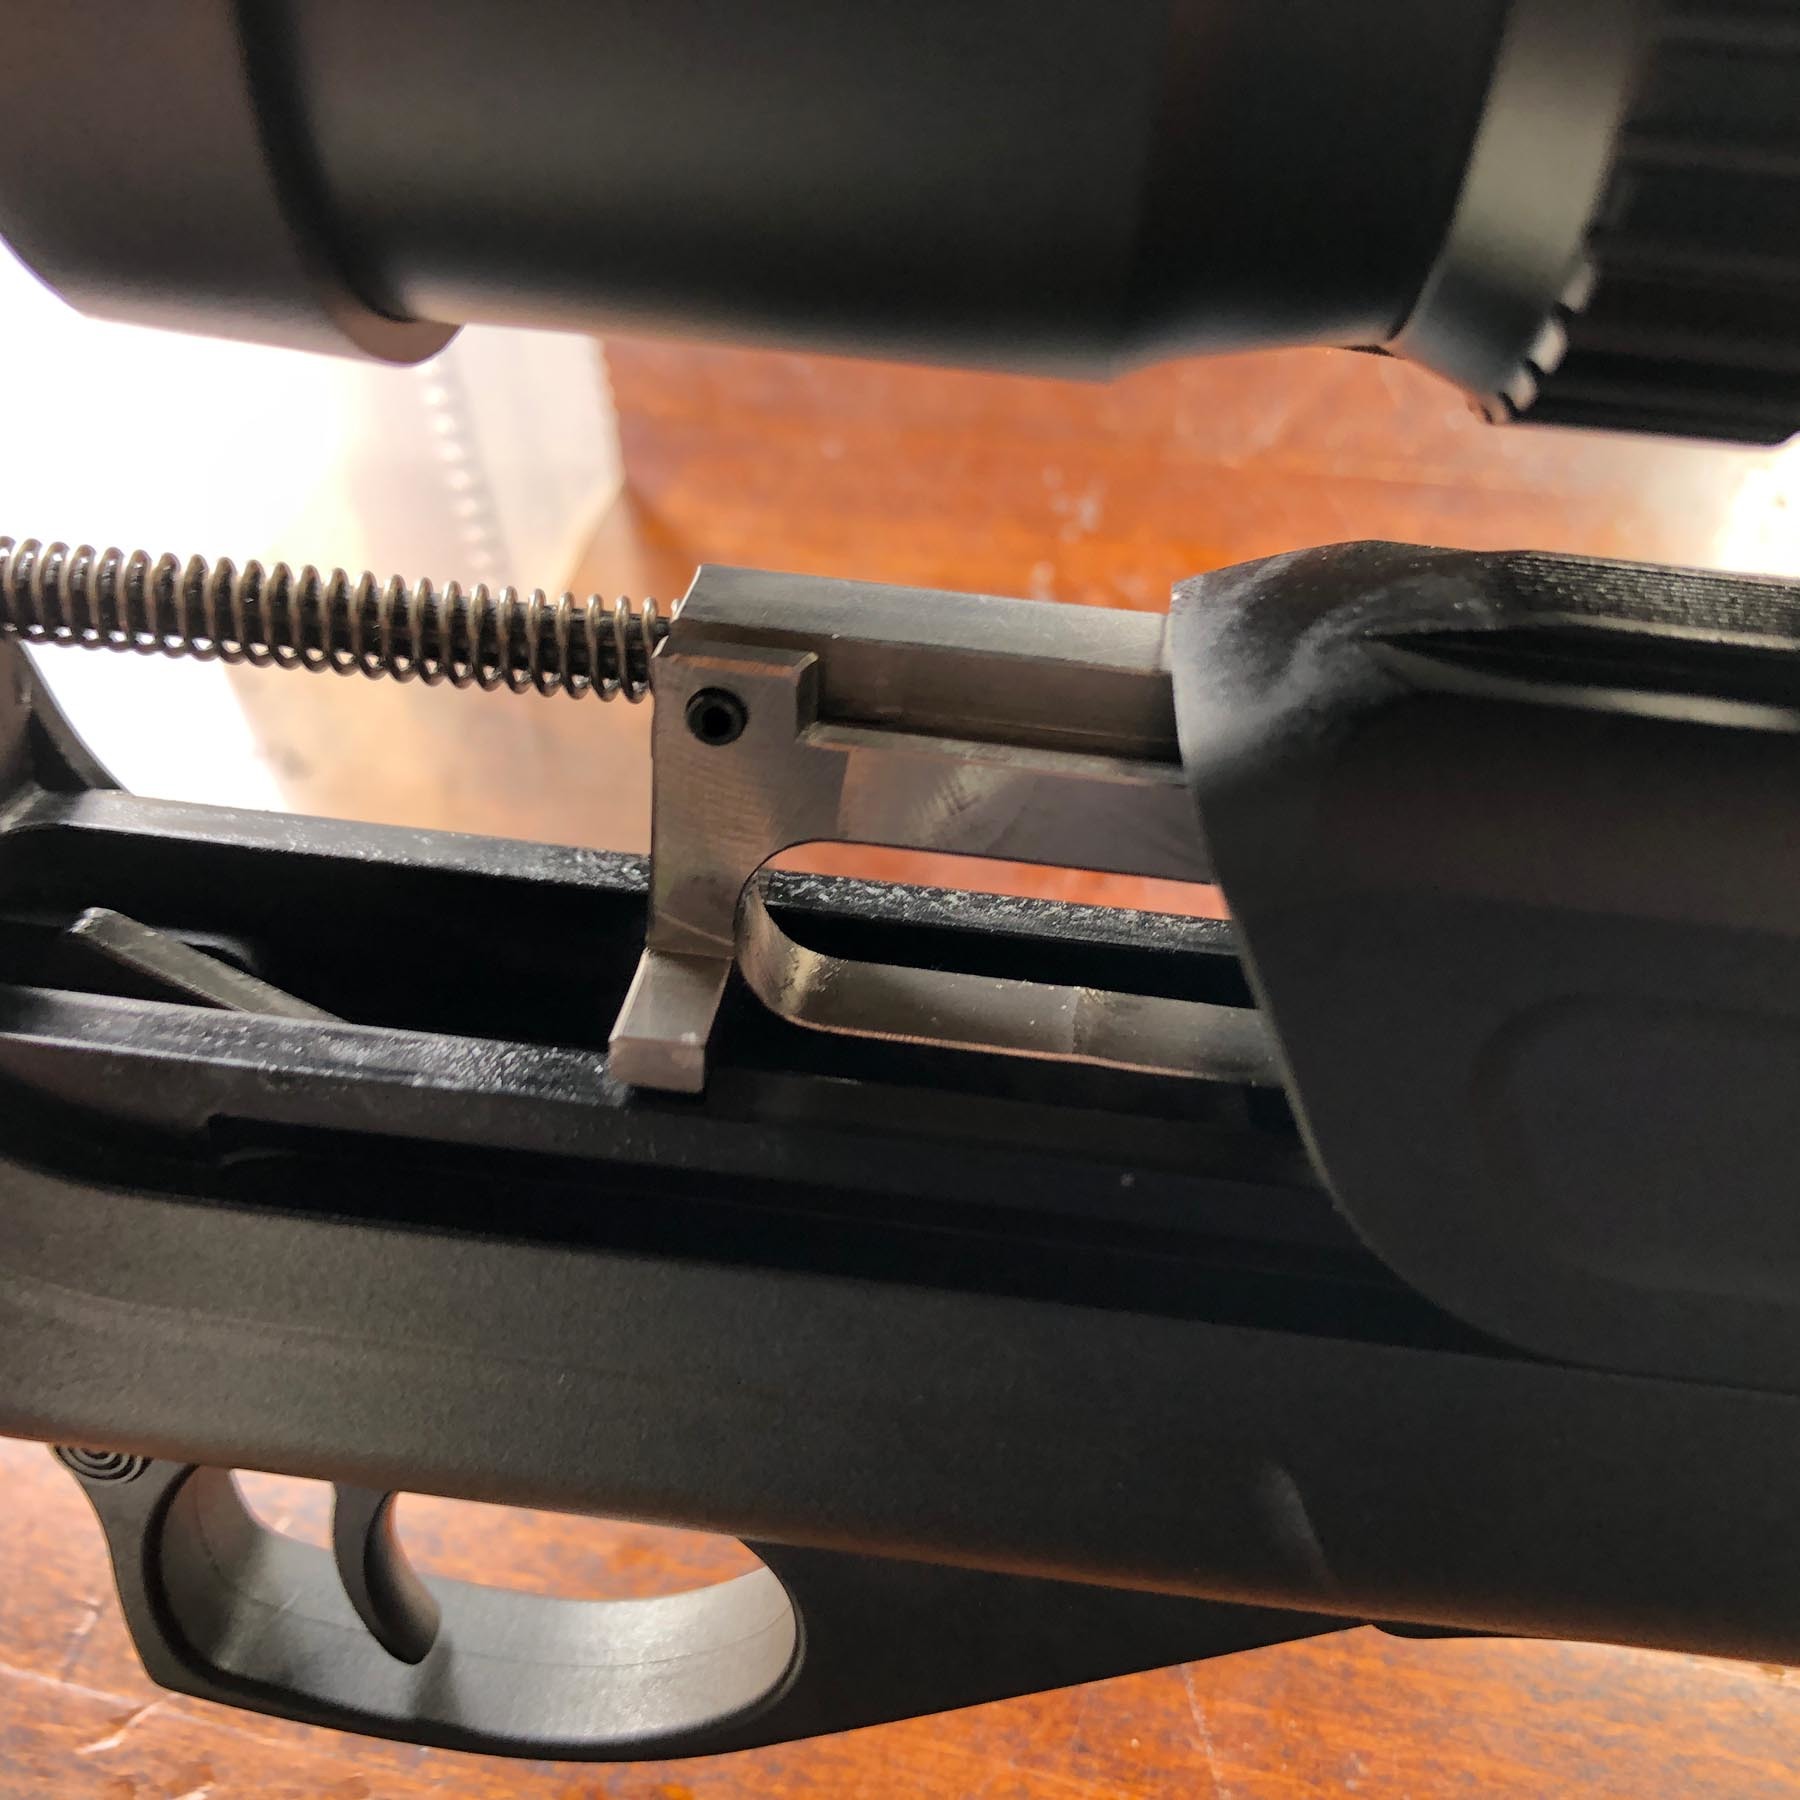
Slide the upper receiver forward until the charging handle prevents any further movement.
Pop out the charging handle and continue to slide and remove the upper receiver. Note to hold the bolt down to the lower receiver as to not allow the recoil spring to pop out. Put away the upper/barrel assembly as we will not be working on them.
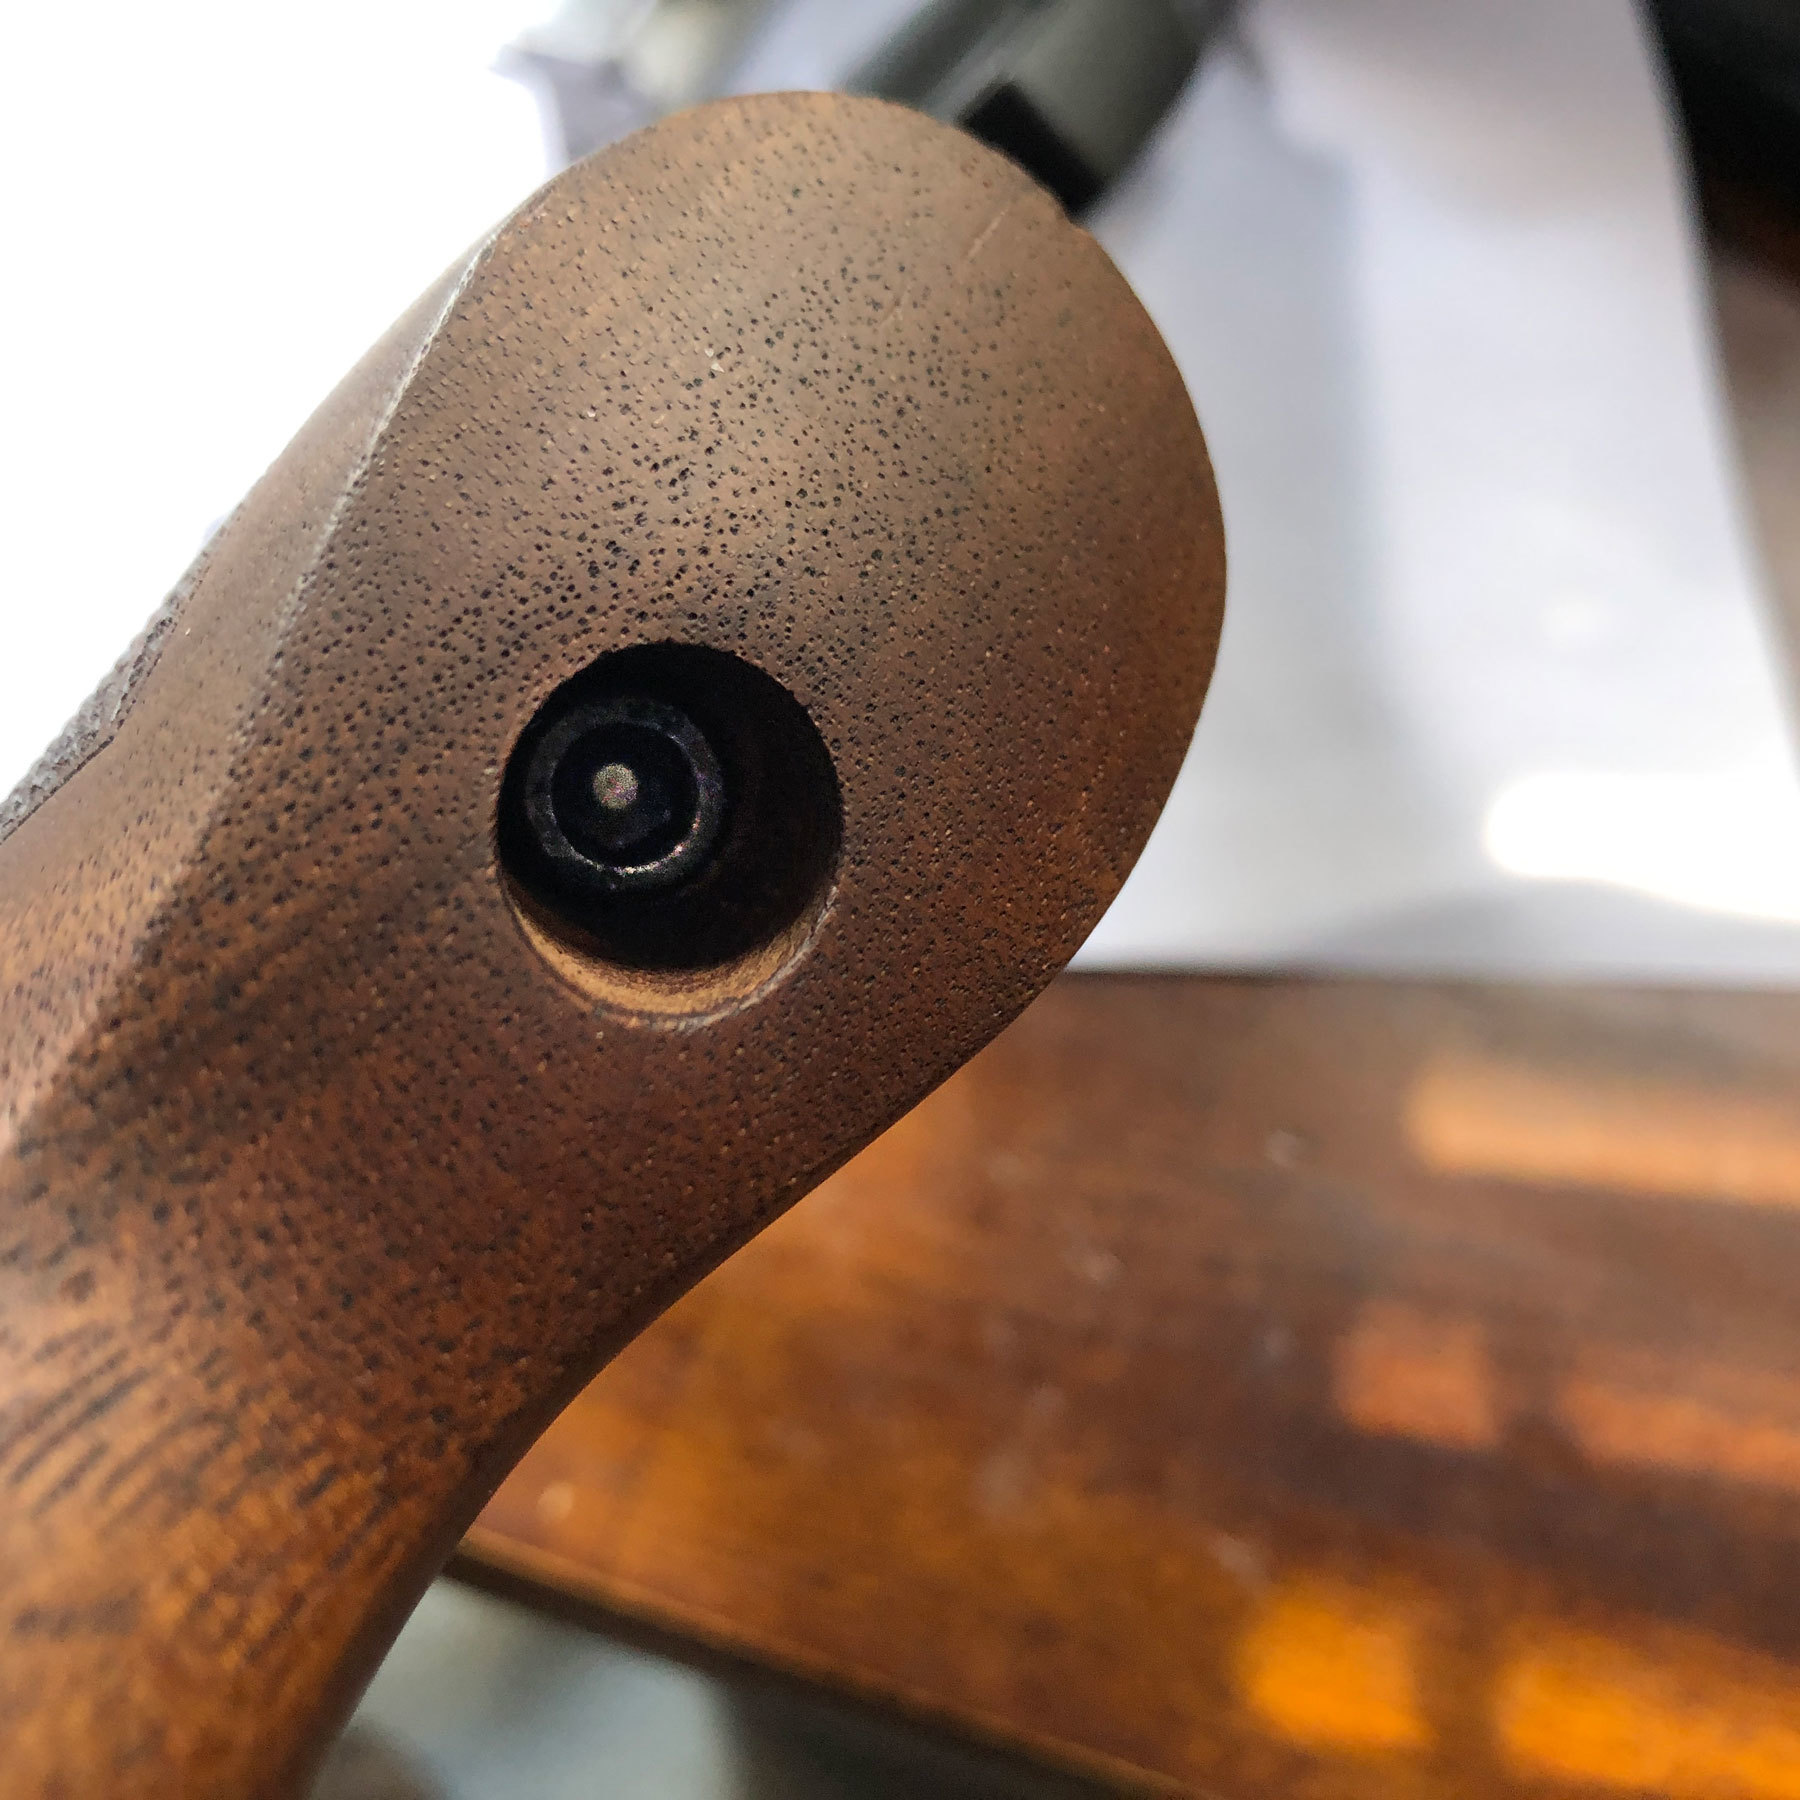
Using a 5mm hex key remove the bolt that holds the butt stock to the lower receiver.
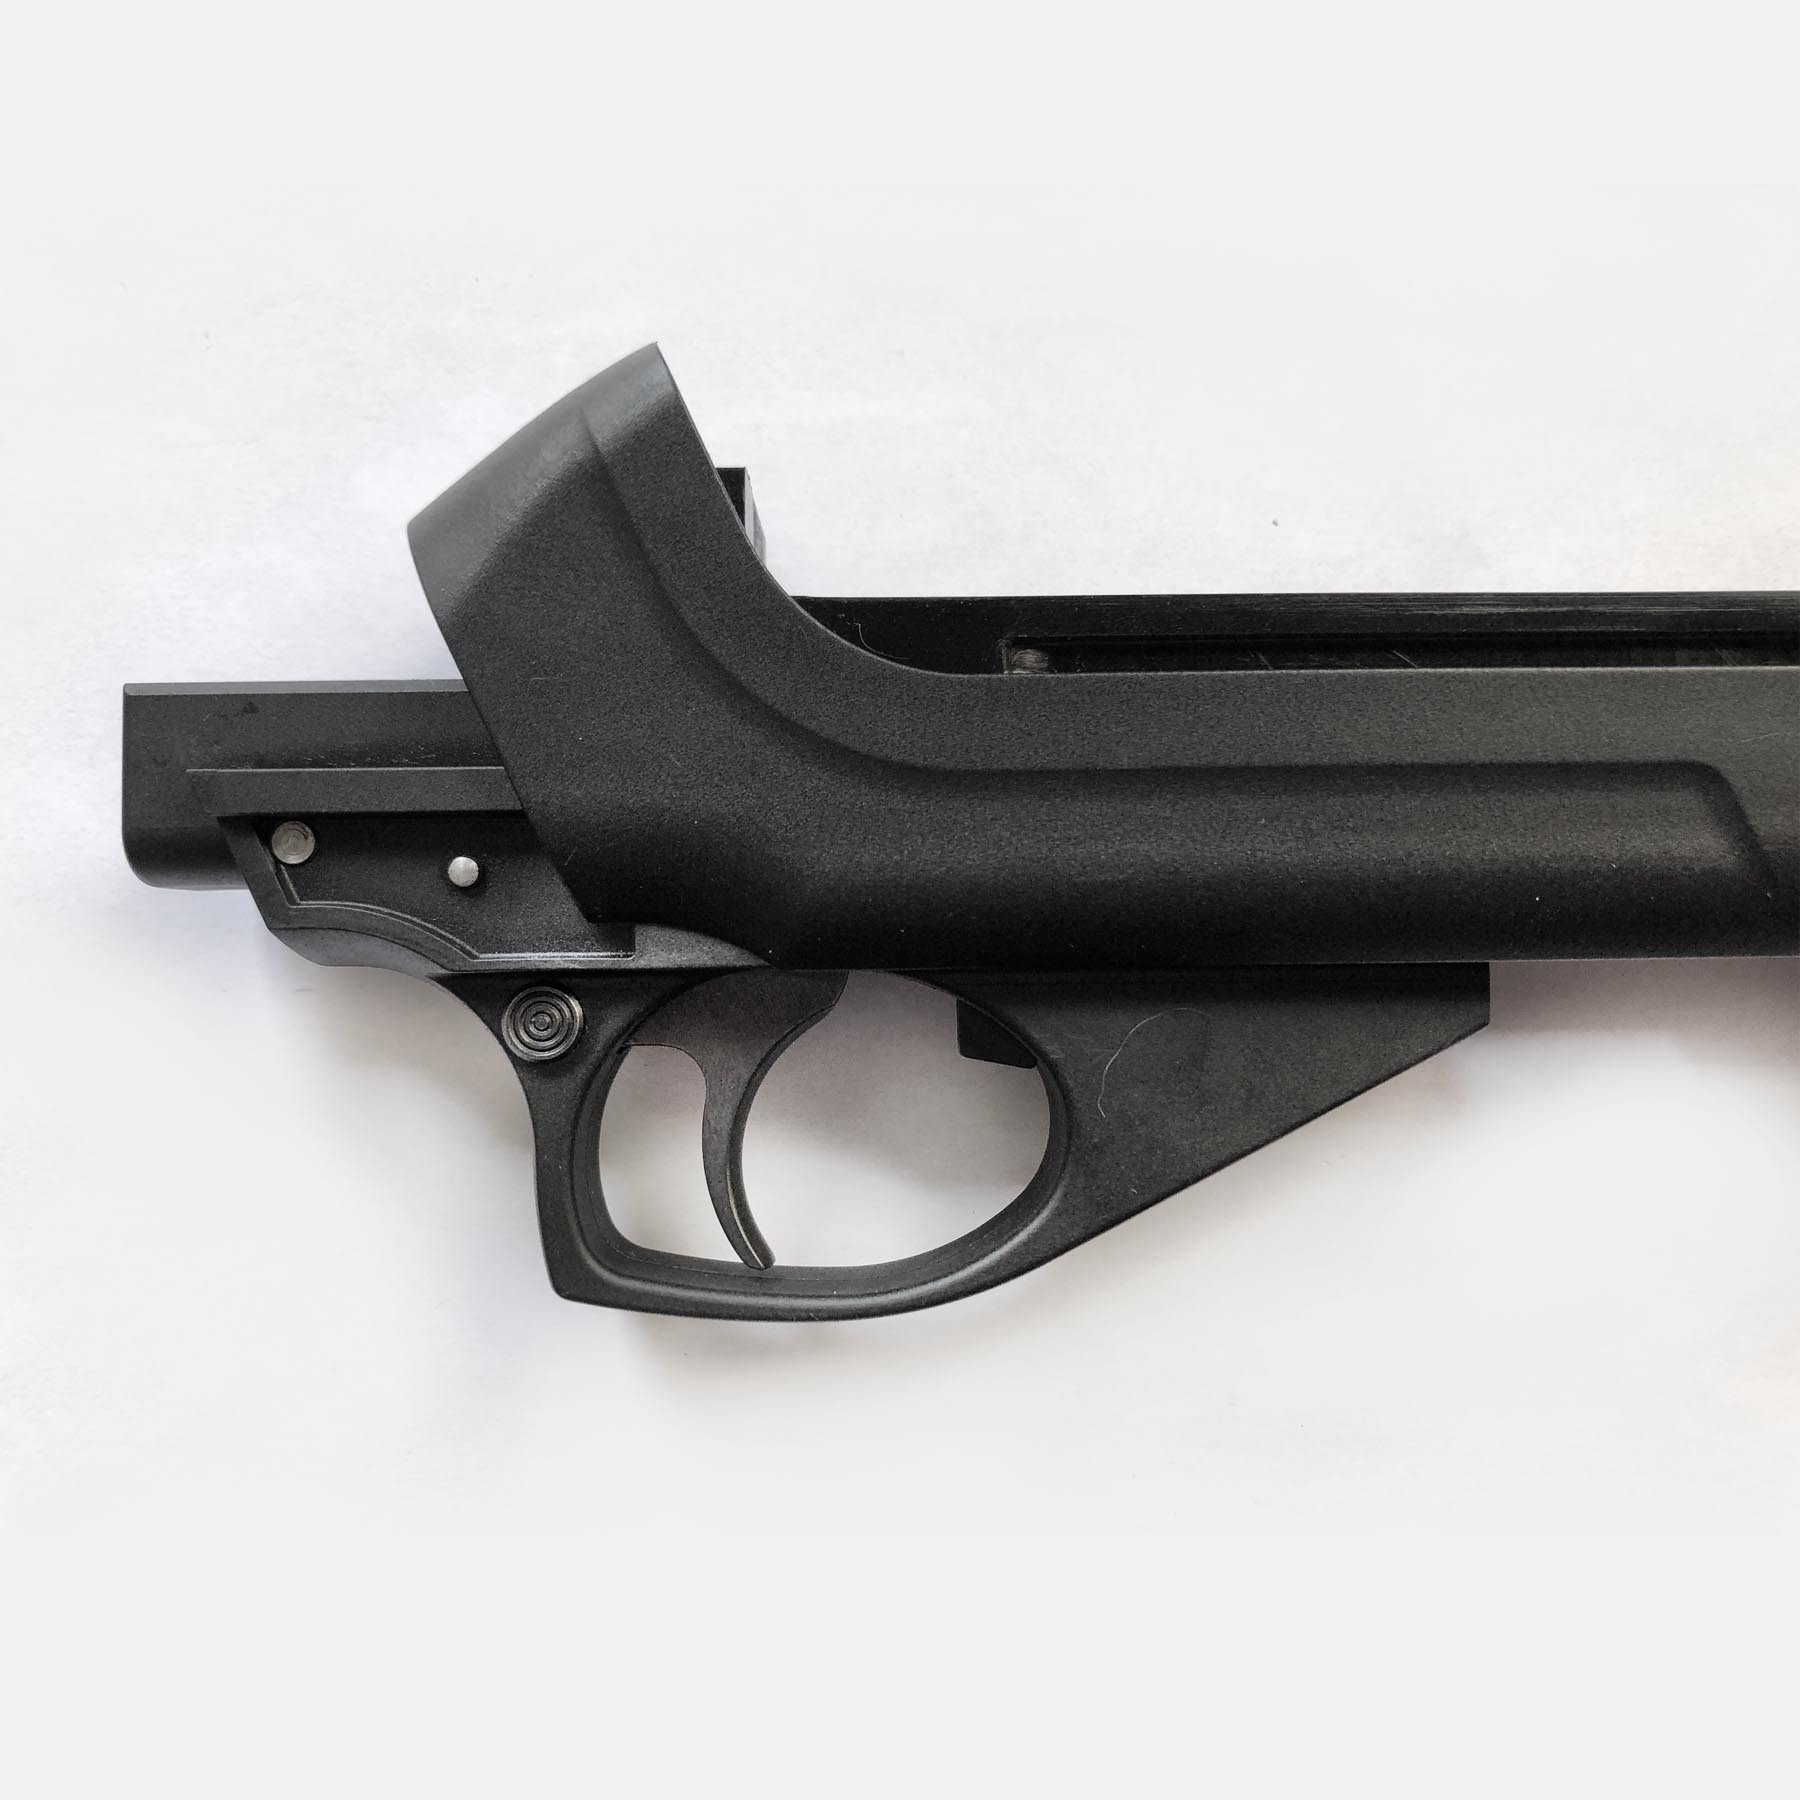
Now remove the trigger group from the lower receiver. You might need to push down on the hammer further than its cocked position to clear the receiver as you slide the trigger group out. This assembled trigger group will be what we are testing as you remove the material from the trigger.
Trigger Group Disassembly
Fair Warning: Your first several attempts at dissembling the trigger group will be frustrating. There are several small parts and springs that need to be installed inside small spaces and you will launch parts into the air that are under spring tension. Be mindful about your work surface so you are able to find the parts that will get away from you. Thankfully, CZ did a great job in designing all their parts to fit only one way so you don't need to stress too much about labeling everything.
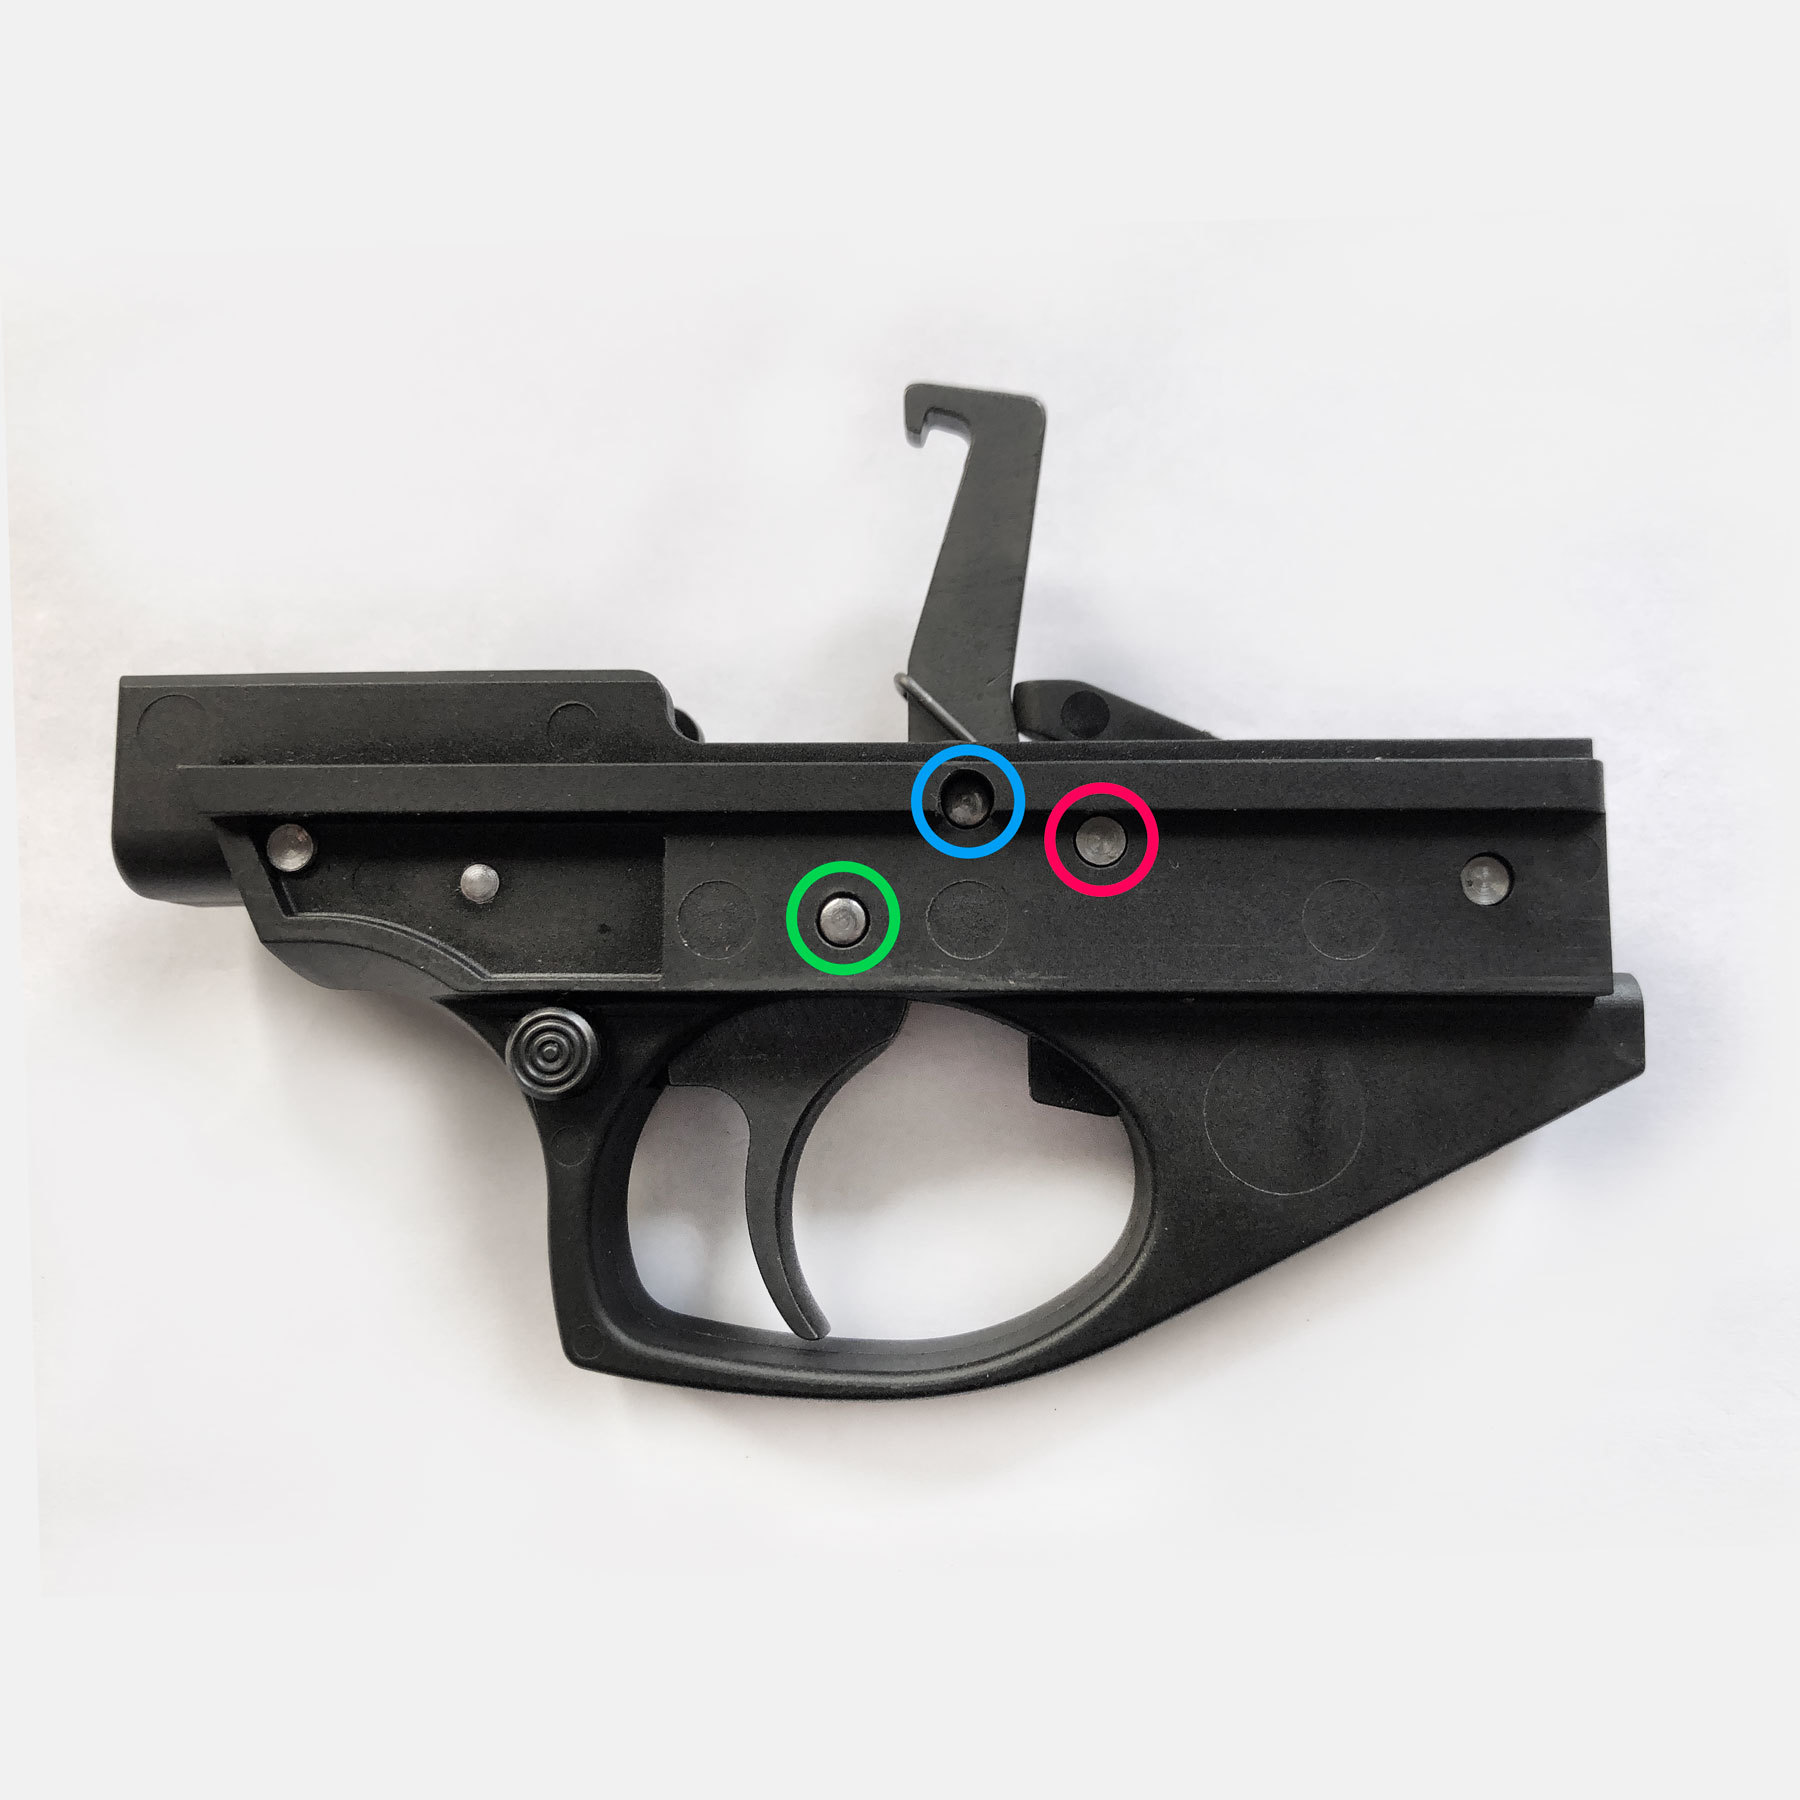
Out of the 3 pins that we will be removing, you'll notice that 2 are heavier and more polished. Those are for the trigger and the hammer. The 3rd, lighter and more matte in appearance, is for holding the hammer spring.
Hammer Pin (heavy and shiny) Hammer Spring Pin (light and matte) Trigger Pin (heavy and shiny)
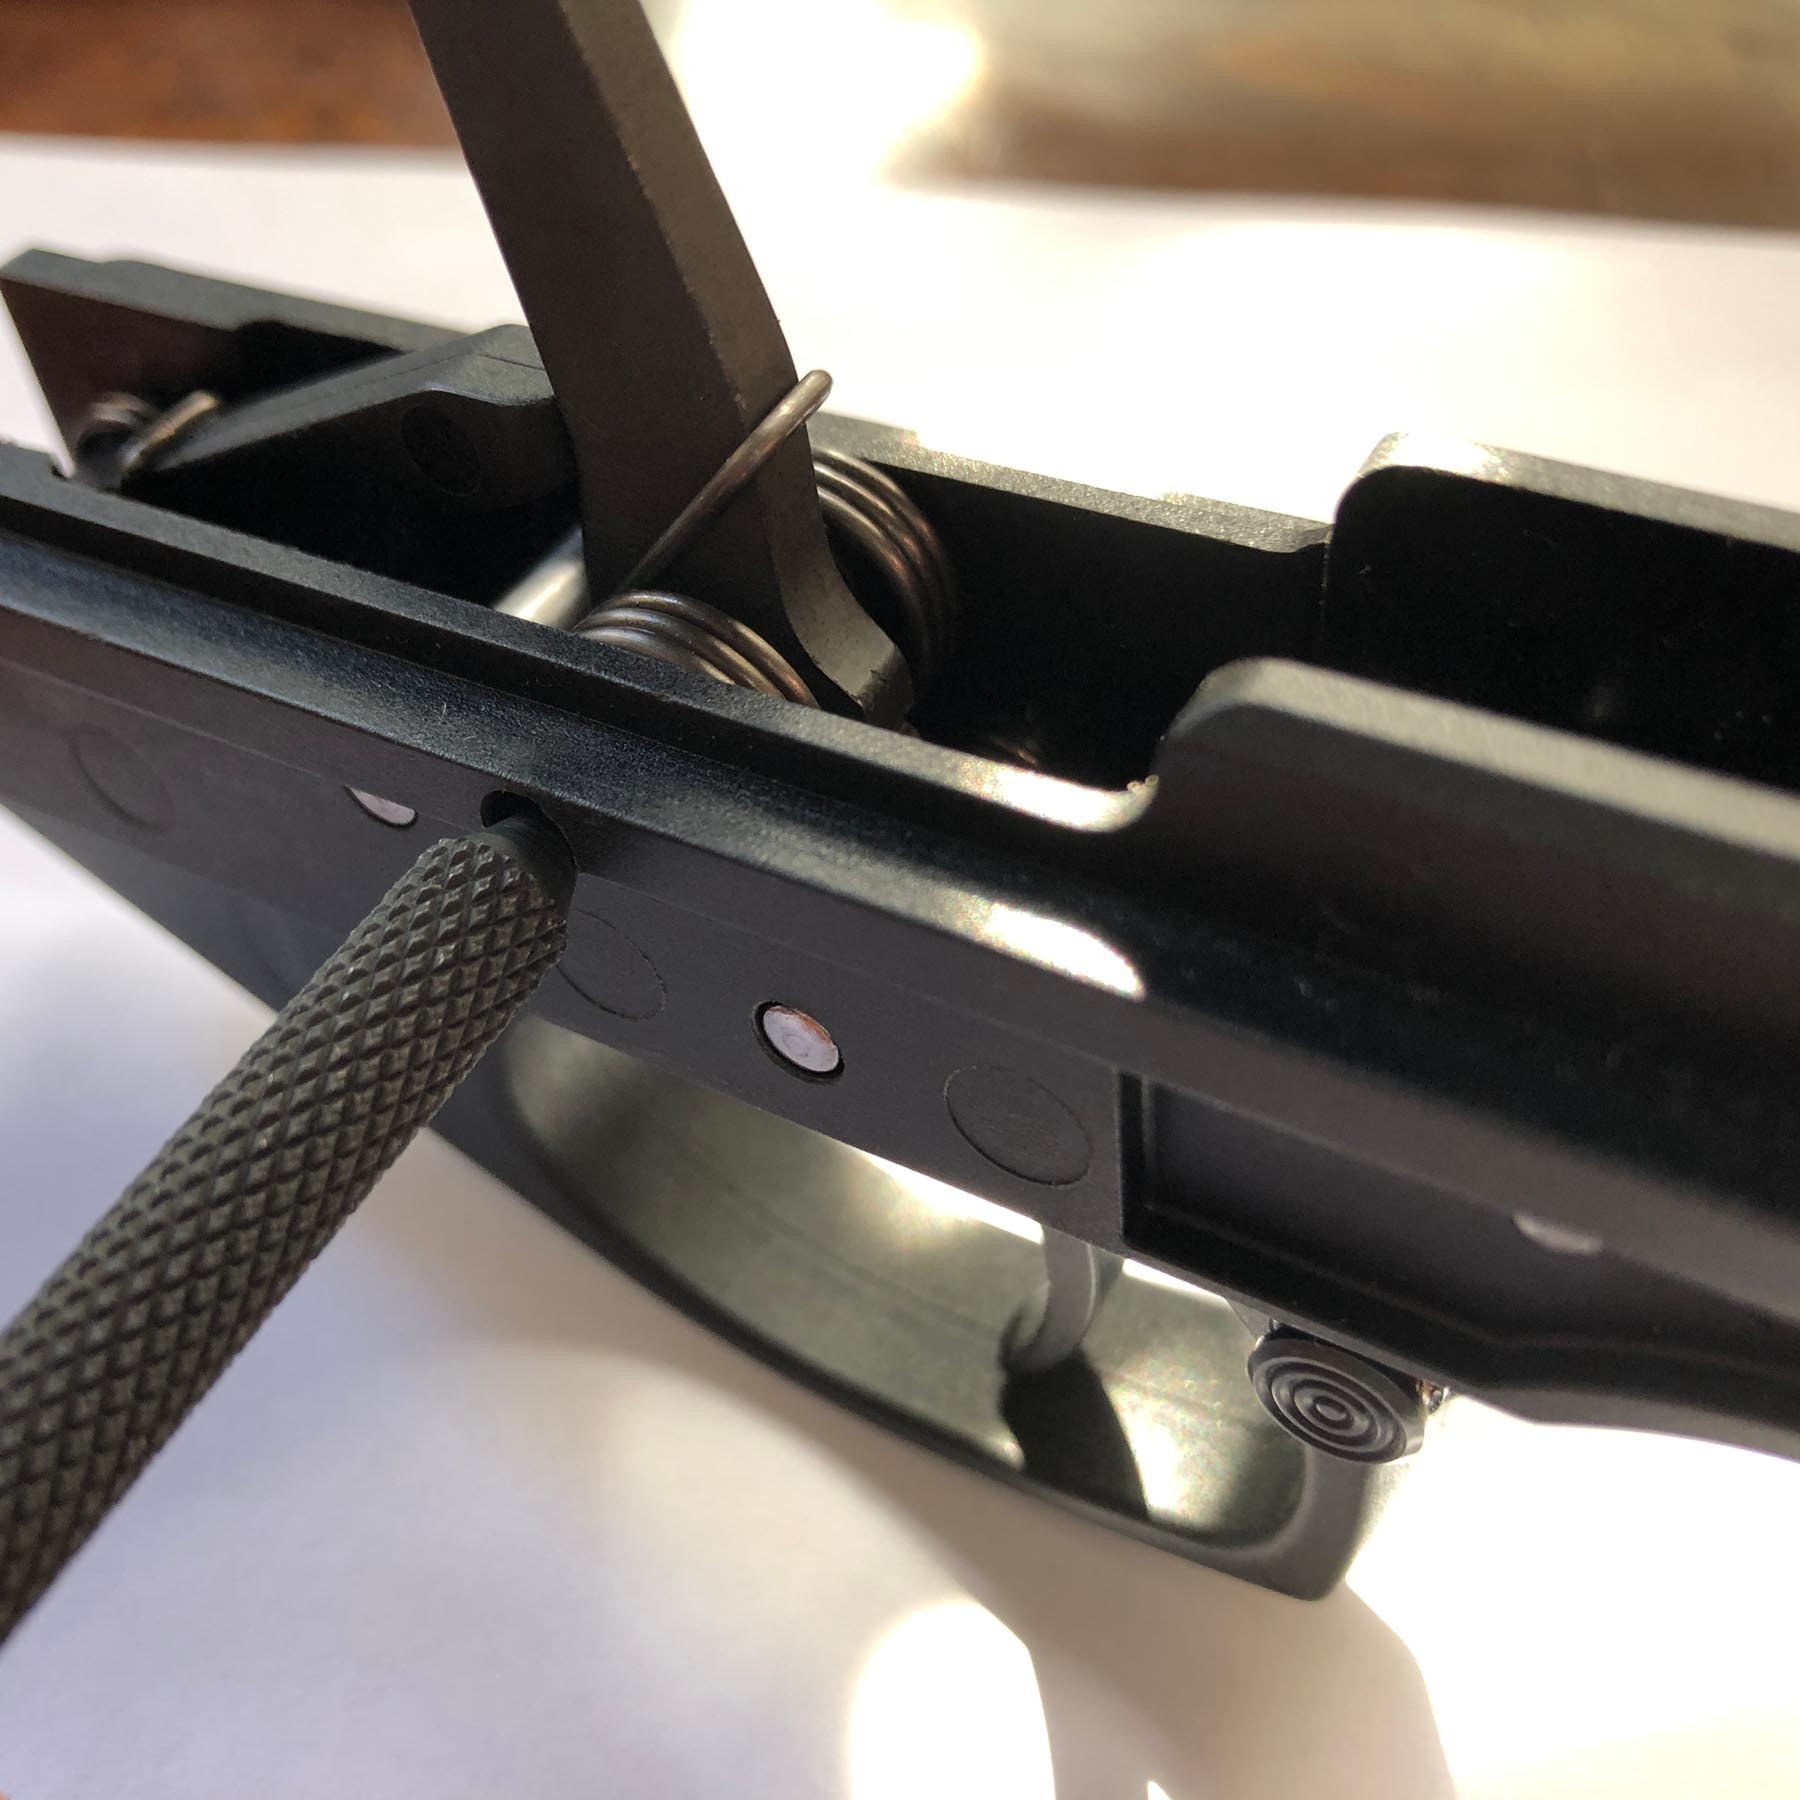
Remove the hammer pin by taking a punch and inserting it slowly through the pin hole. This action will turn your punch into a temporary pin, preventing things from launching in the air. Now, cupping the hammer group with your palm, slowly take the punch out, allowing for the hammer components to fall into your hand. Now, take out the pin that is holding the tensions on the hammer spring.
Using the same punch method, remove the last pin that holds the trigger. This will be the extent of our disassembly.
Sear Engagement Surfaces
One way to reduce the creep or travel of the trigger is to limit the surface area of the engagement between the trigger and the hammer. While there are many ways to achieve this, we'll employ what I consider the least destructive way.
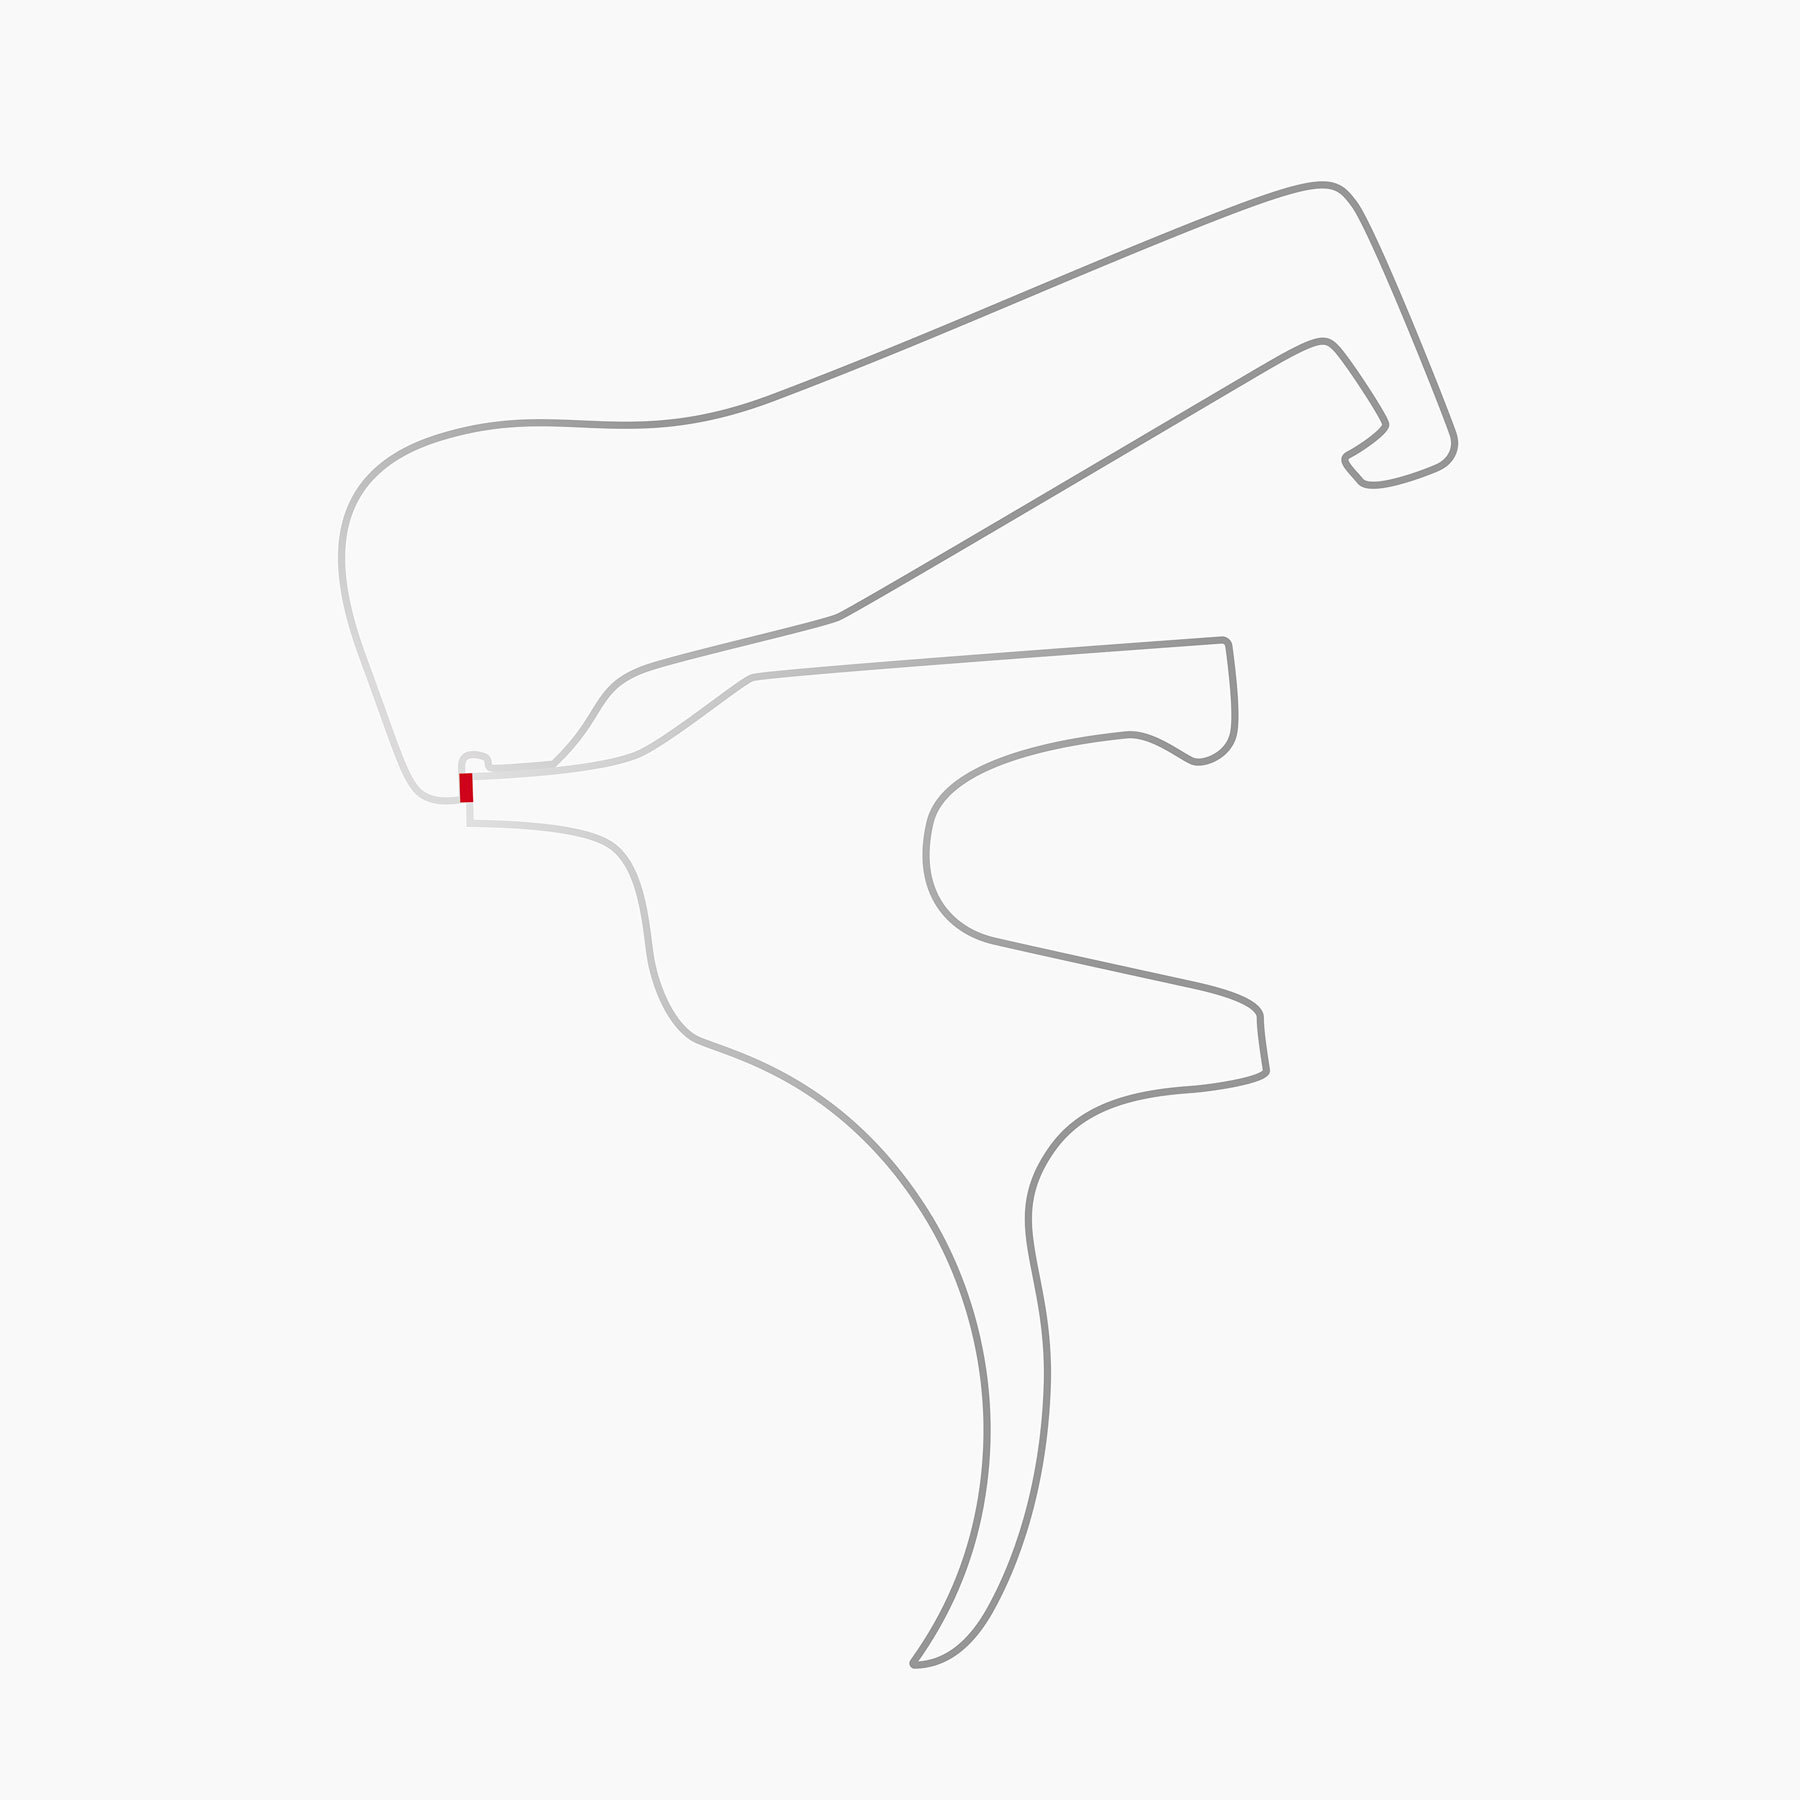
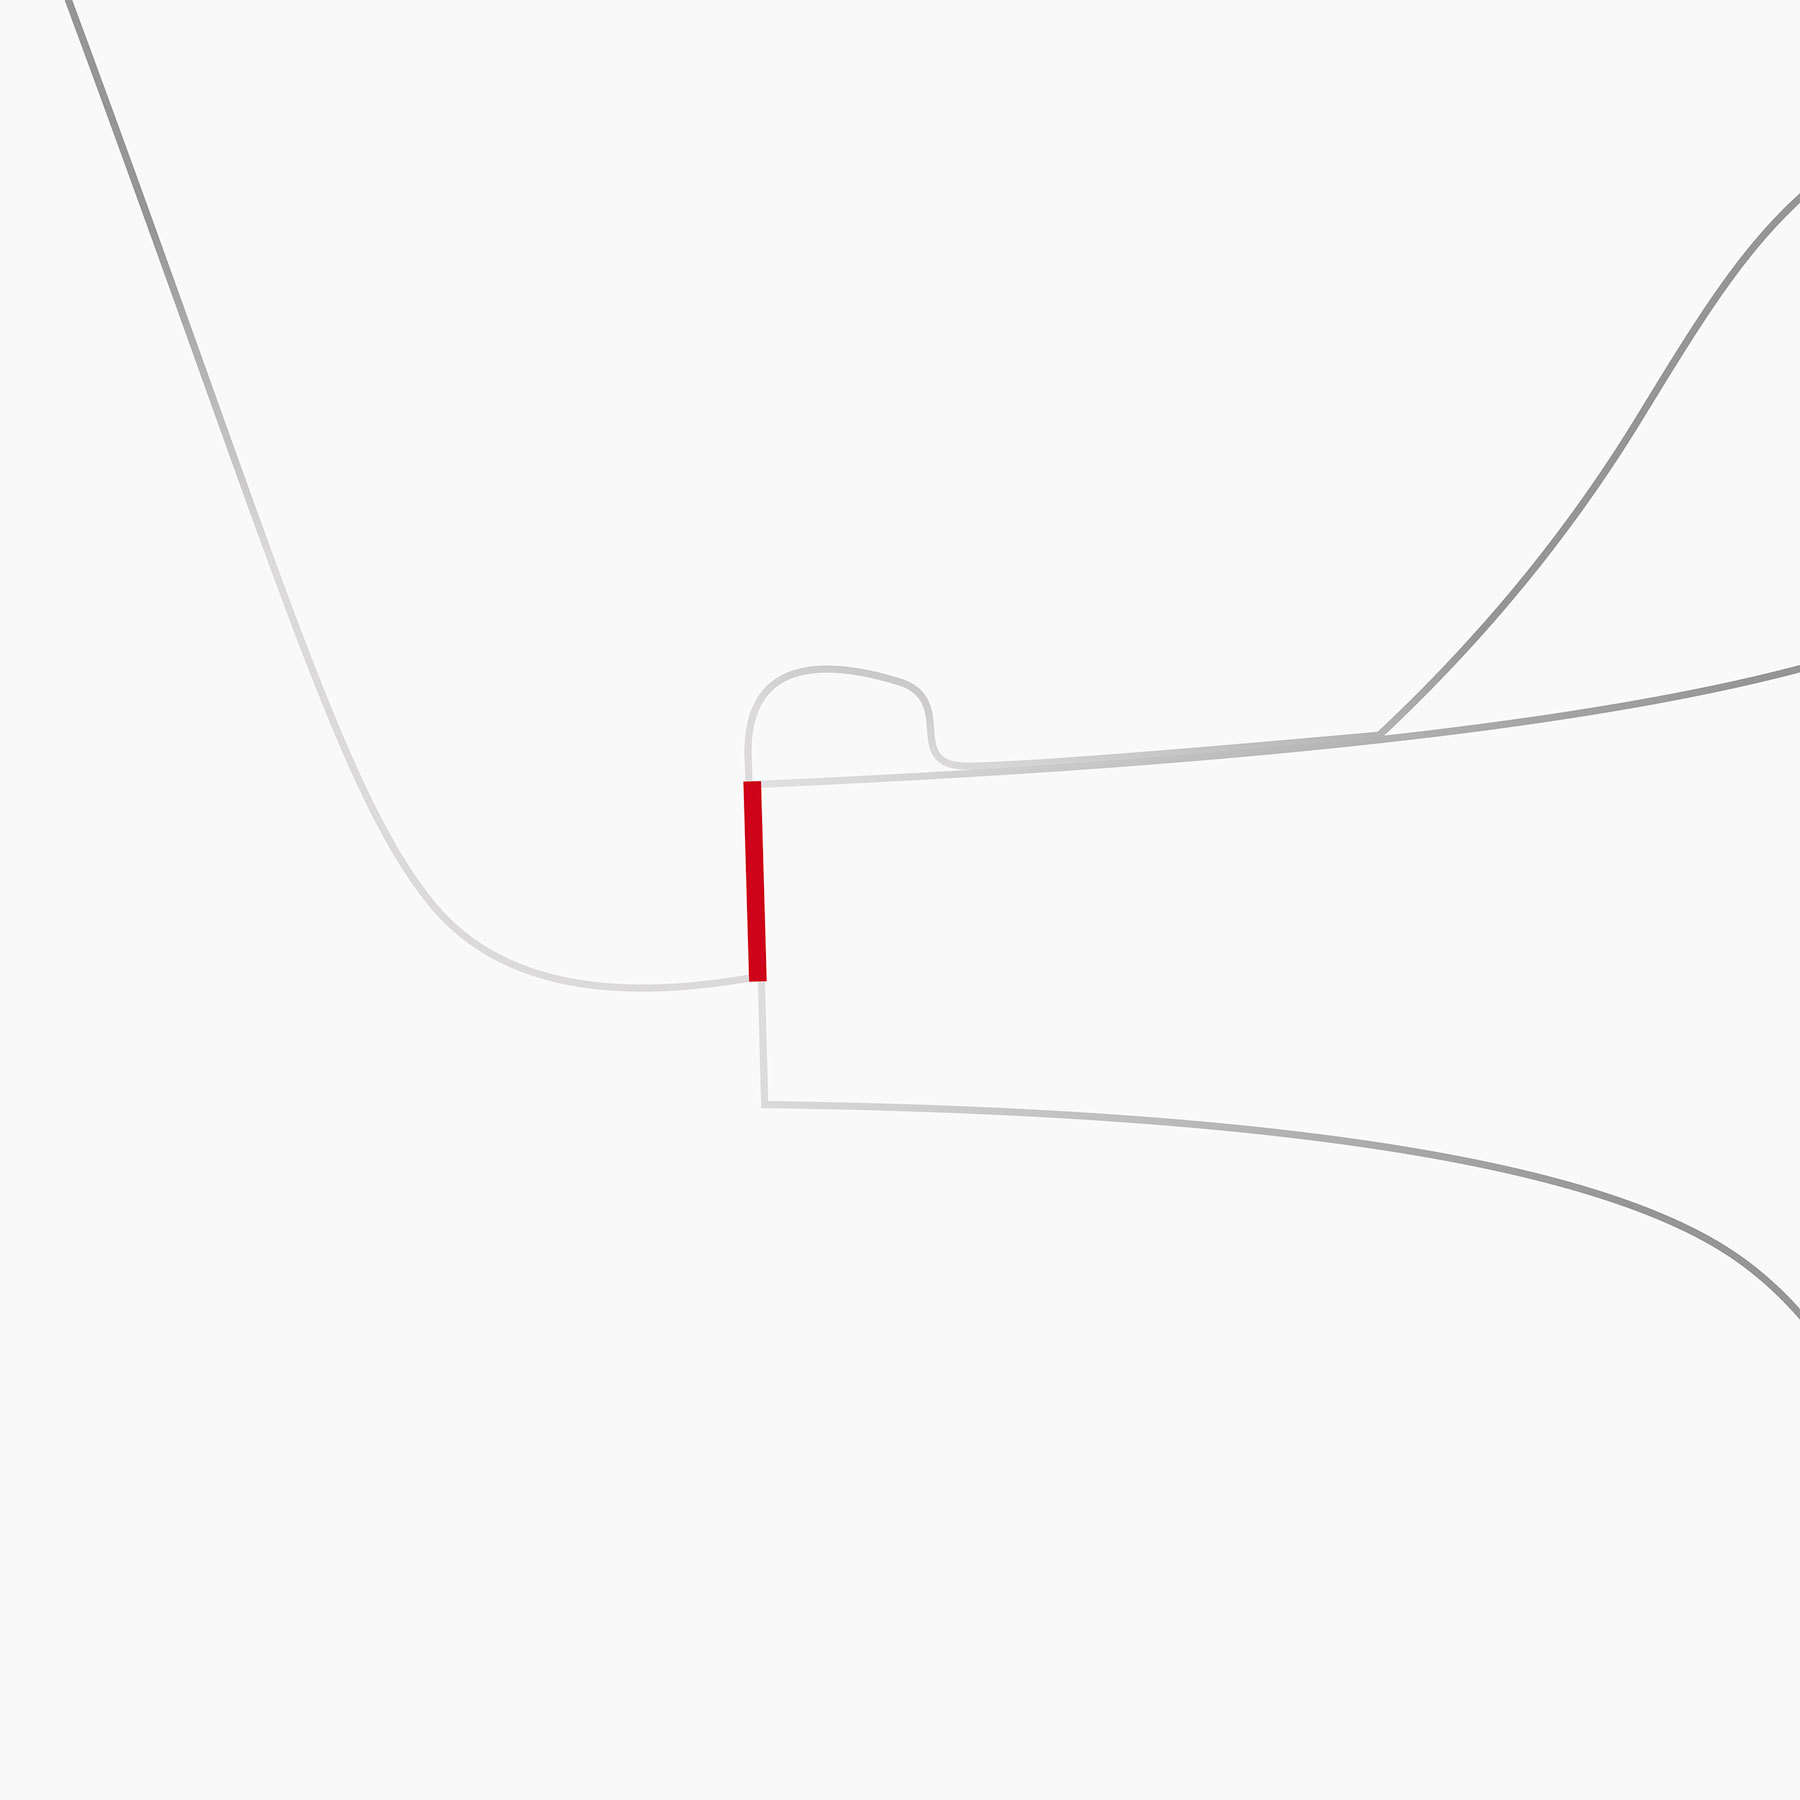
This is an approximate position of the hammer in the cocked state relative to the trigger. We'll be working mainly on the trigger surface.

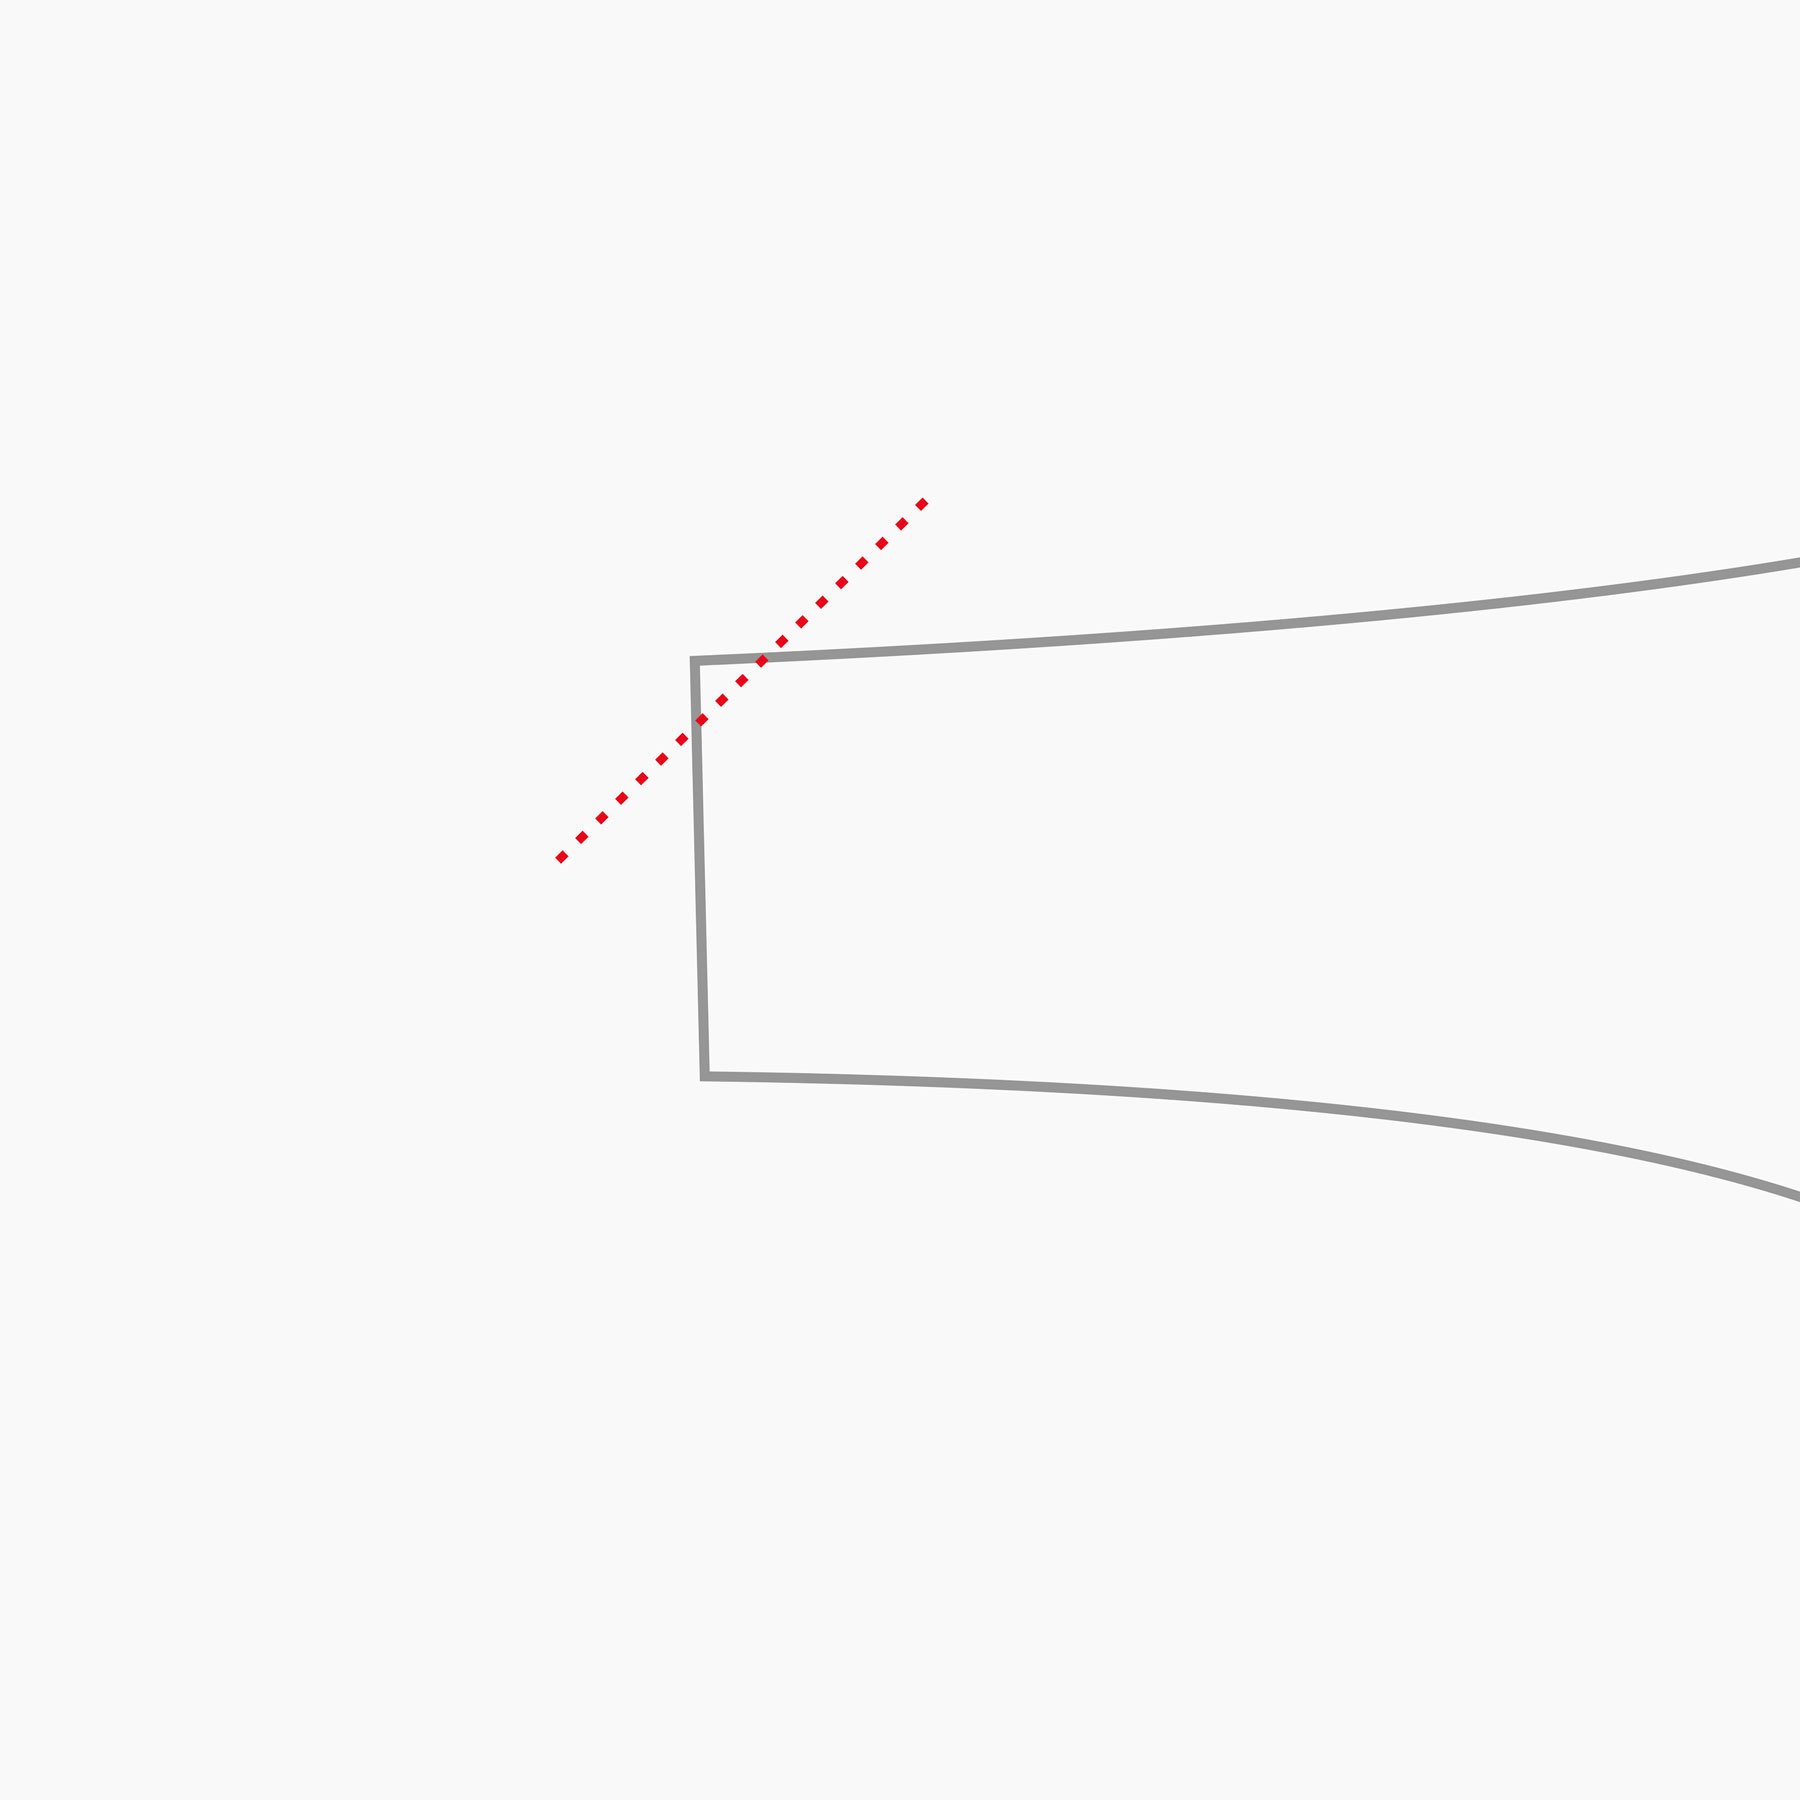
We'll be working on the top corner of the trigger engagement surface to file it down at a roughly 45° angle (anything between 35° and 55° will work). The geometric term that refers to what we are trying to achieve is "chamfering".
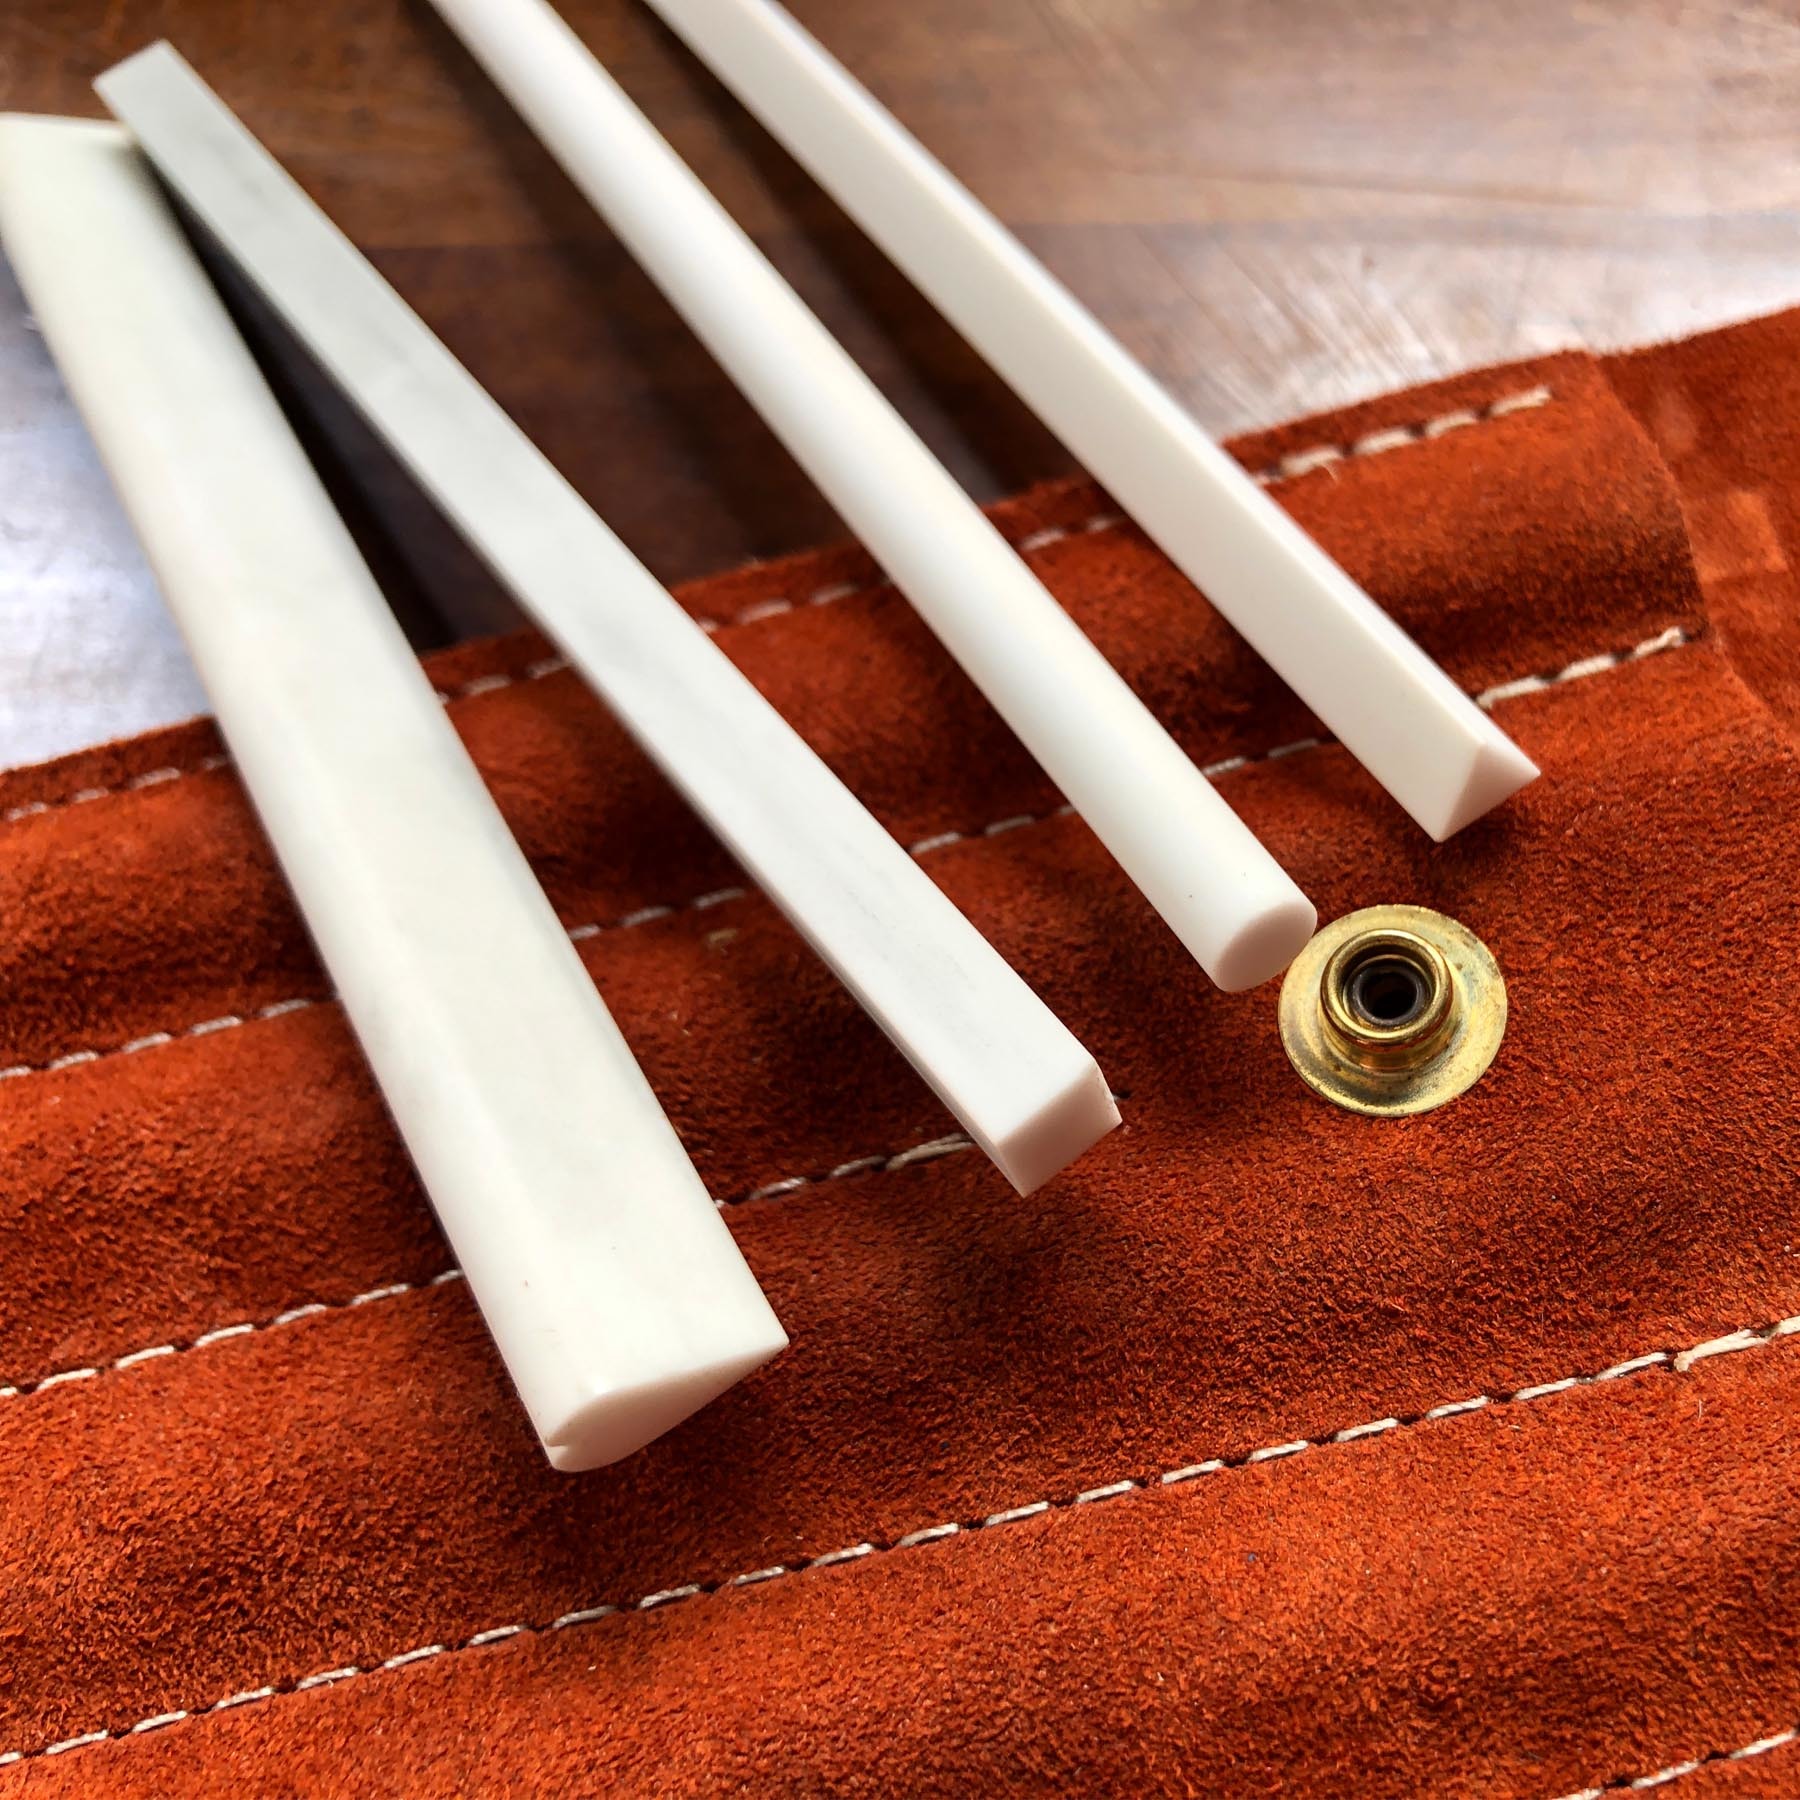
Through research and practice I have chosen ceramic files as the tools best suited for the task (Spyderco Ceramic File Set). Despite them being ideal for polishing and deburring, they are just as well suited for removing metal. Additionally, they leave a great polished finish afterwards. One can purchase them as a single file or a set, with different shapes designed to fit varied geometries of parts. My set of 5 files set me back $50. You can save some money by just getting one file that is teardrop shaped (Spyderco Single Ceramic File), which will be useful for both the trigger filing and the hammer, where we will be polishing the sear.
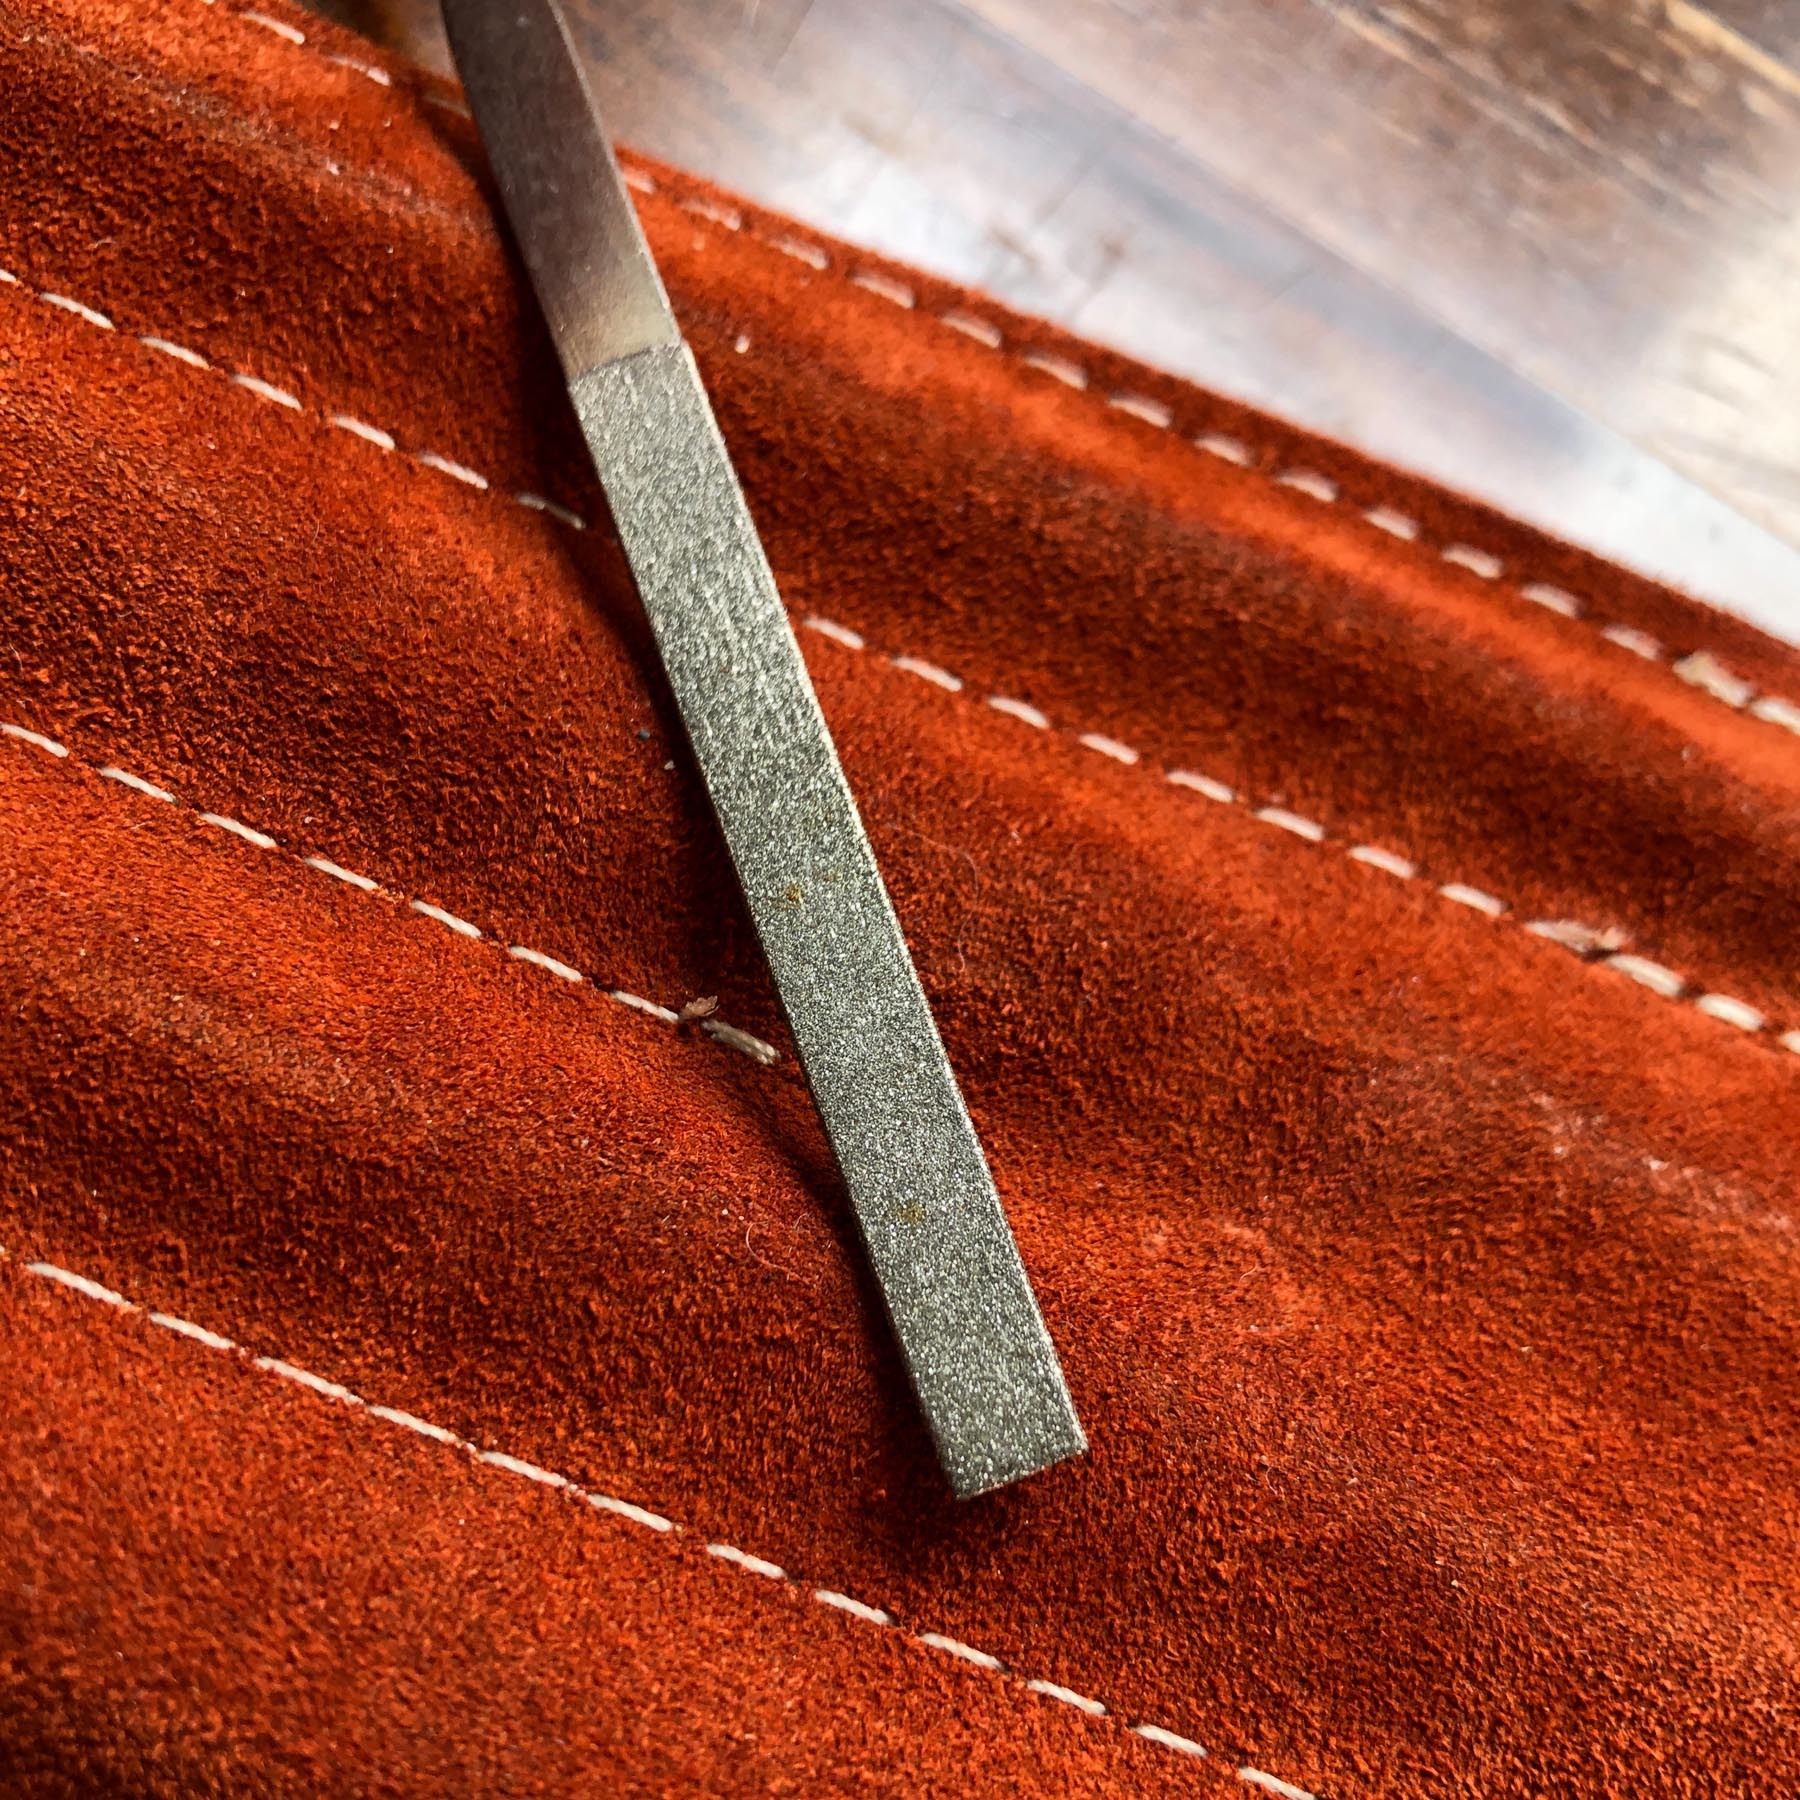
You could certainly get away with using any fine grit file. The small diamond files work well and can be acquired for less than $10 for a set (JinFeng Diamond Needle File Set). For something with finer grit, a set of these three files (EZE-LAP Color Coded Diamond Hones) is a also a viable choice. If you go with a diamond or regular file, you may want to go over your chamfer with some fine grit sand paper afterwards. Make sure that your sandpaper is backed by a solid block.
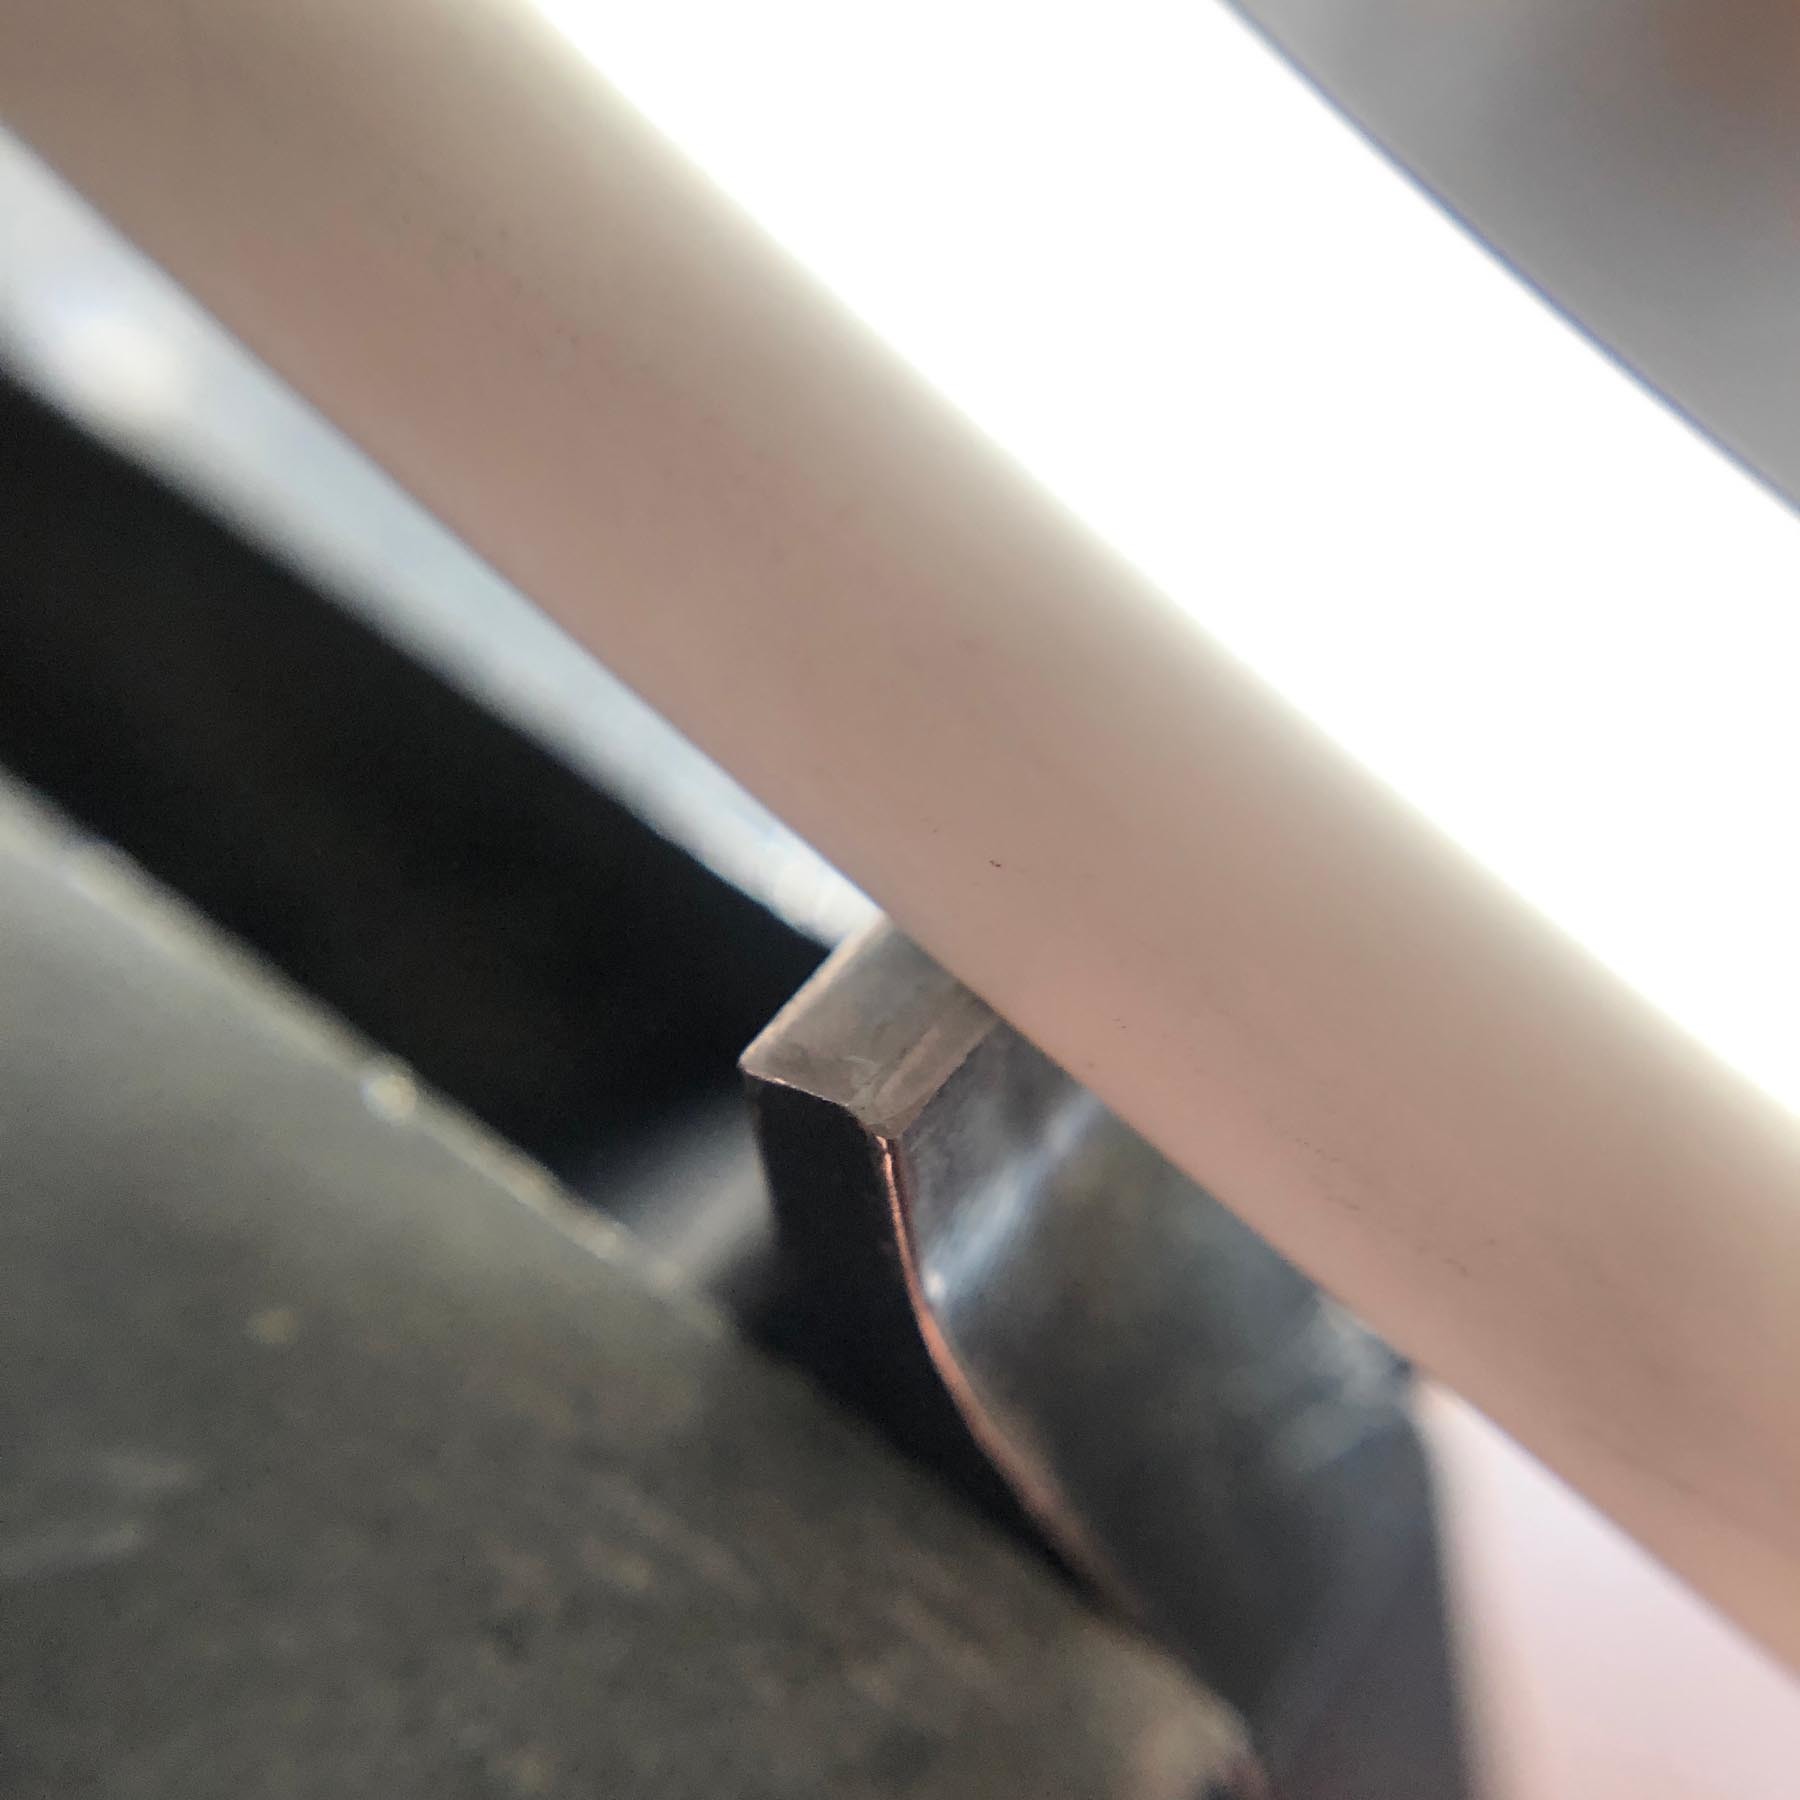
File in the same direction that your trigger moves across the sear. This will prevent the creation of burring marks that are perpendicular to the sear movement. If you are using a ceramic file, it will get clogged quite quickly with metal shavings. Use a damp cloth to clean it as you go. Go slowly and remind yourself that one extra swipe can cost you $35 plus shipping.
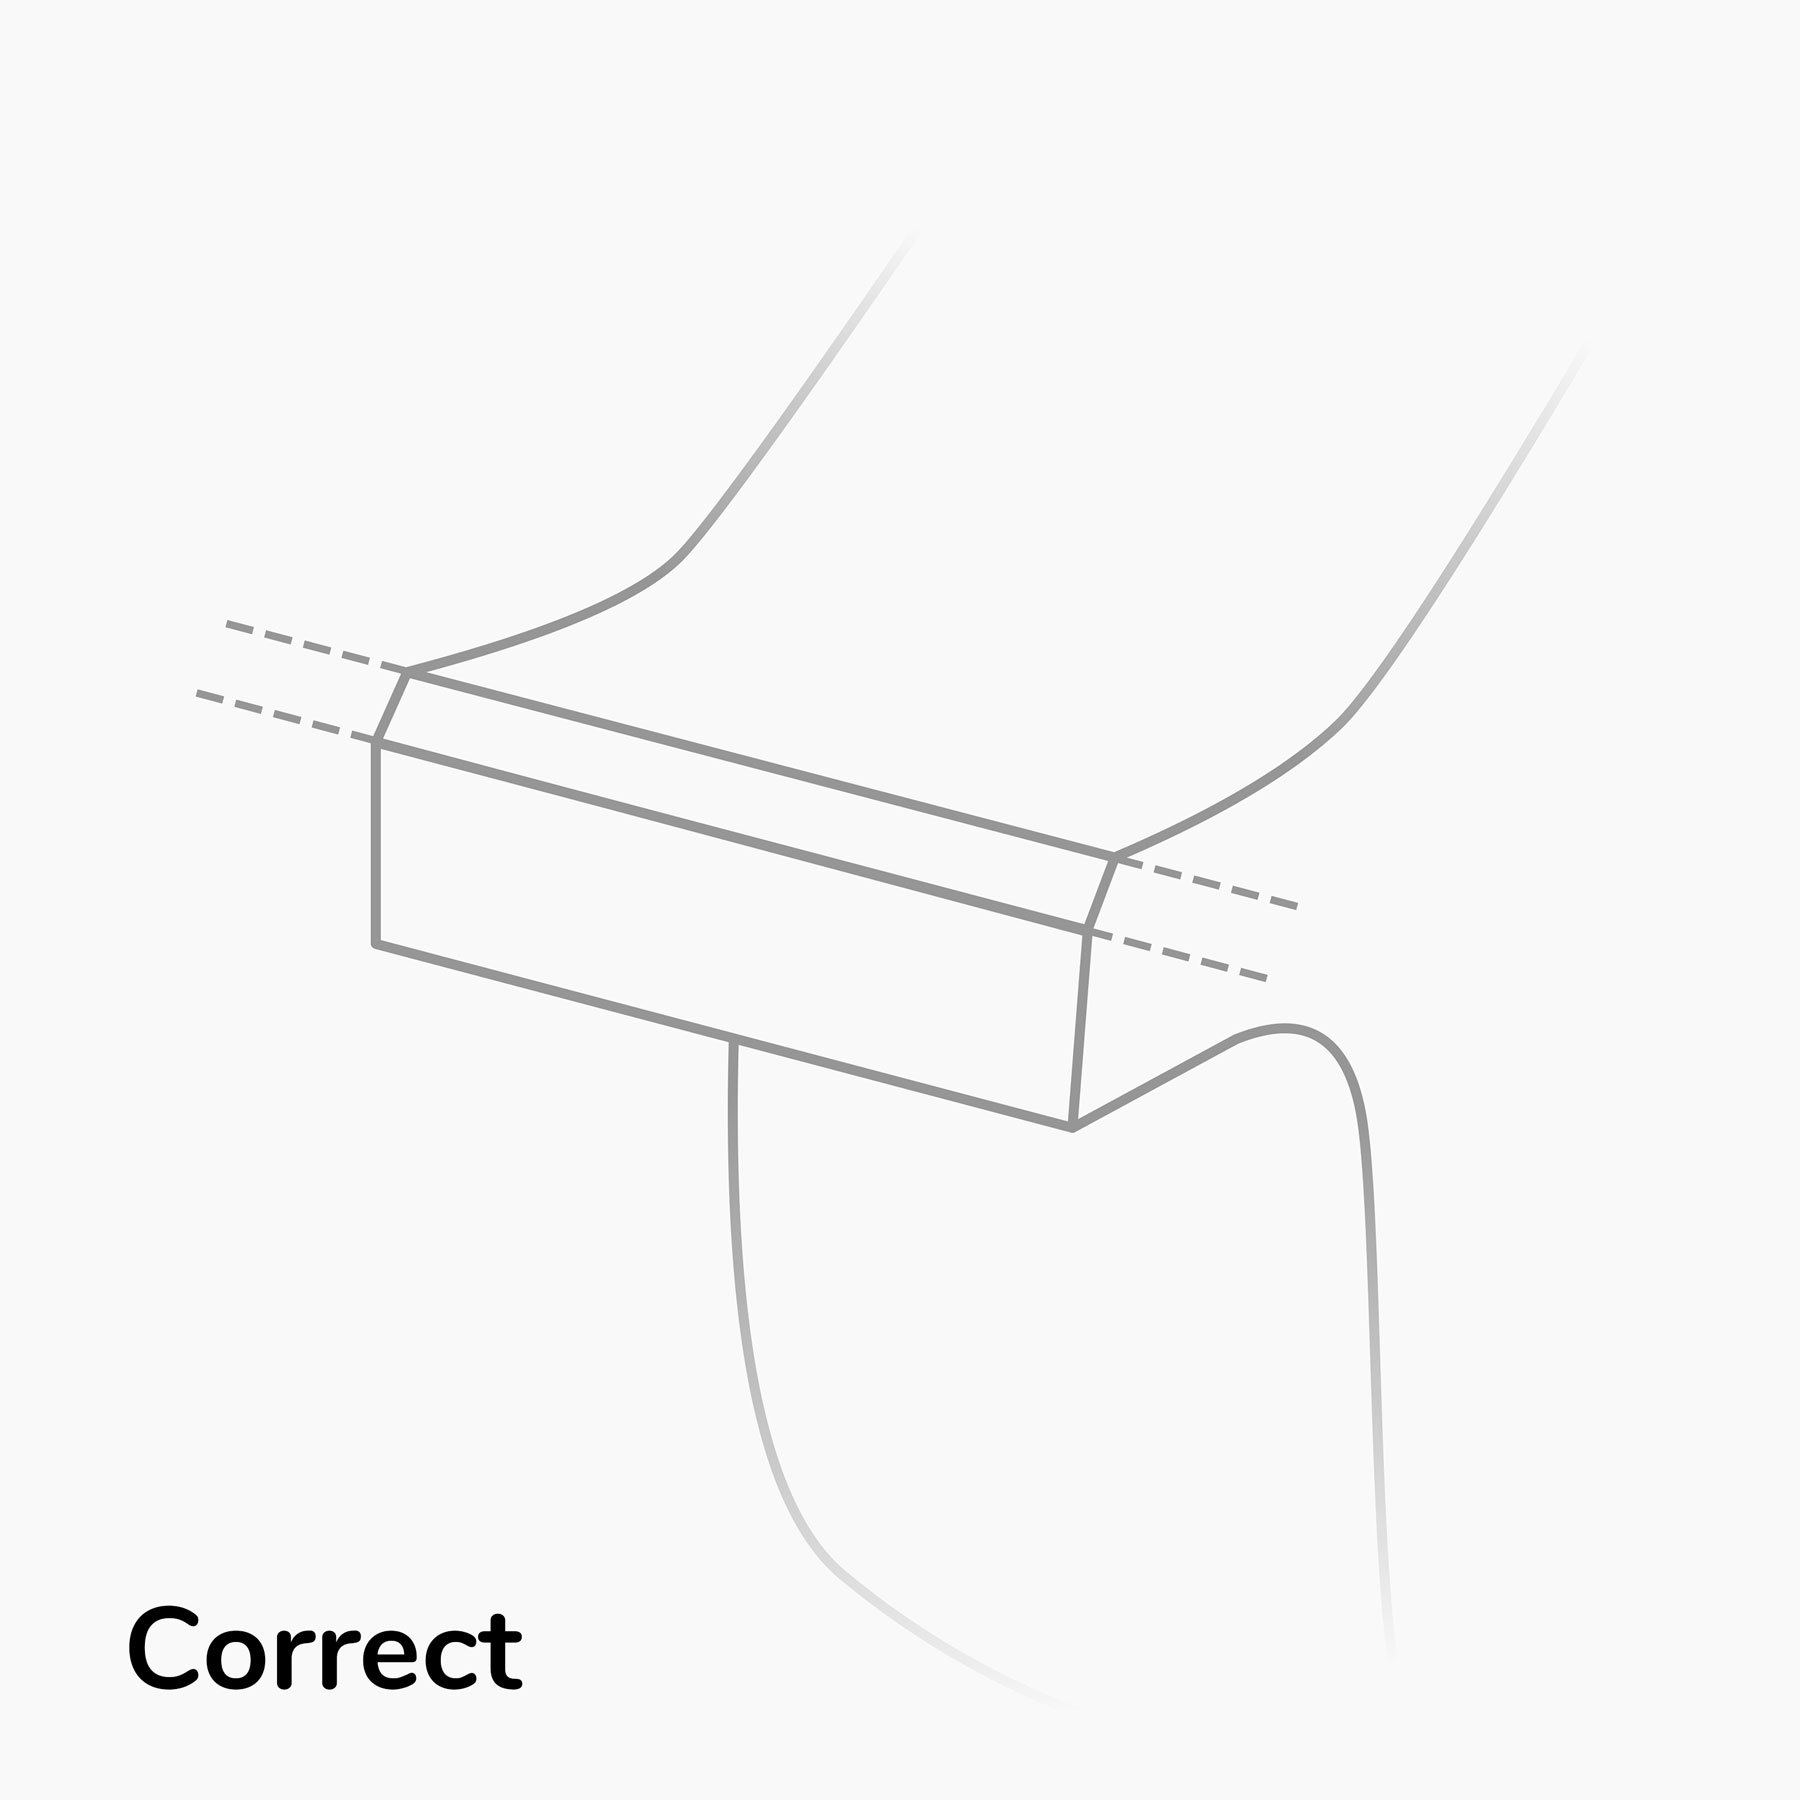
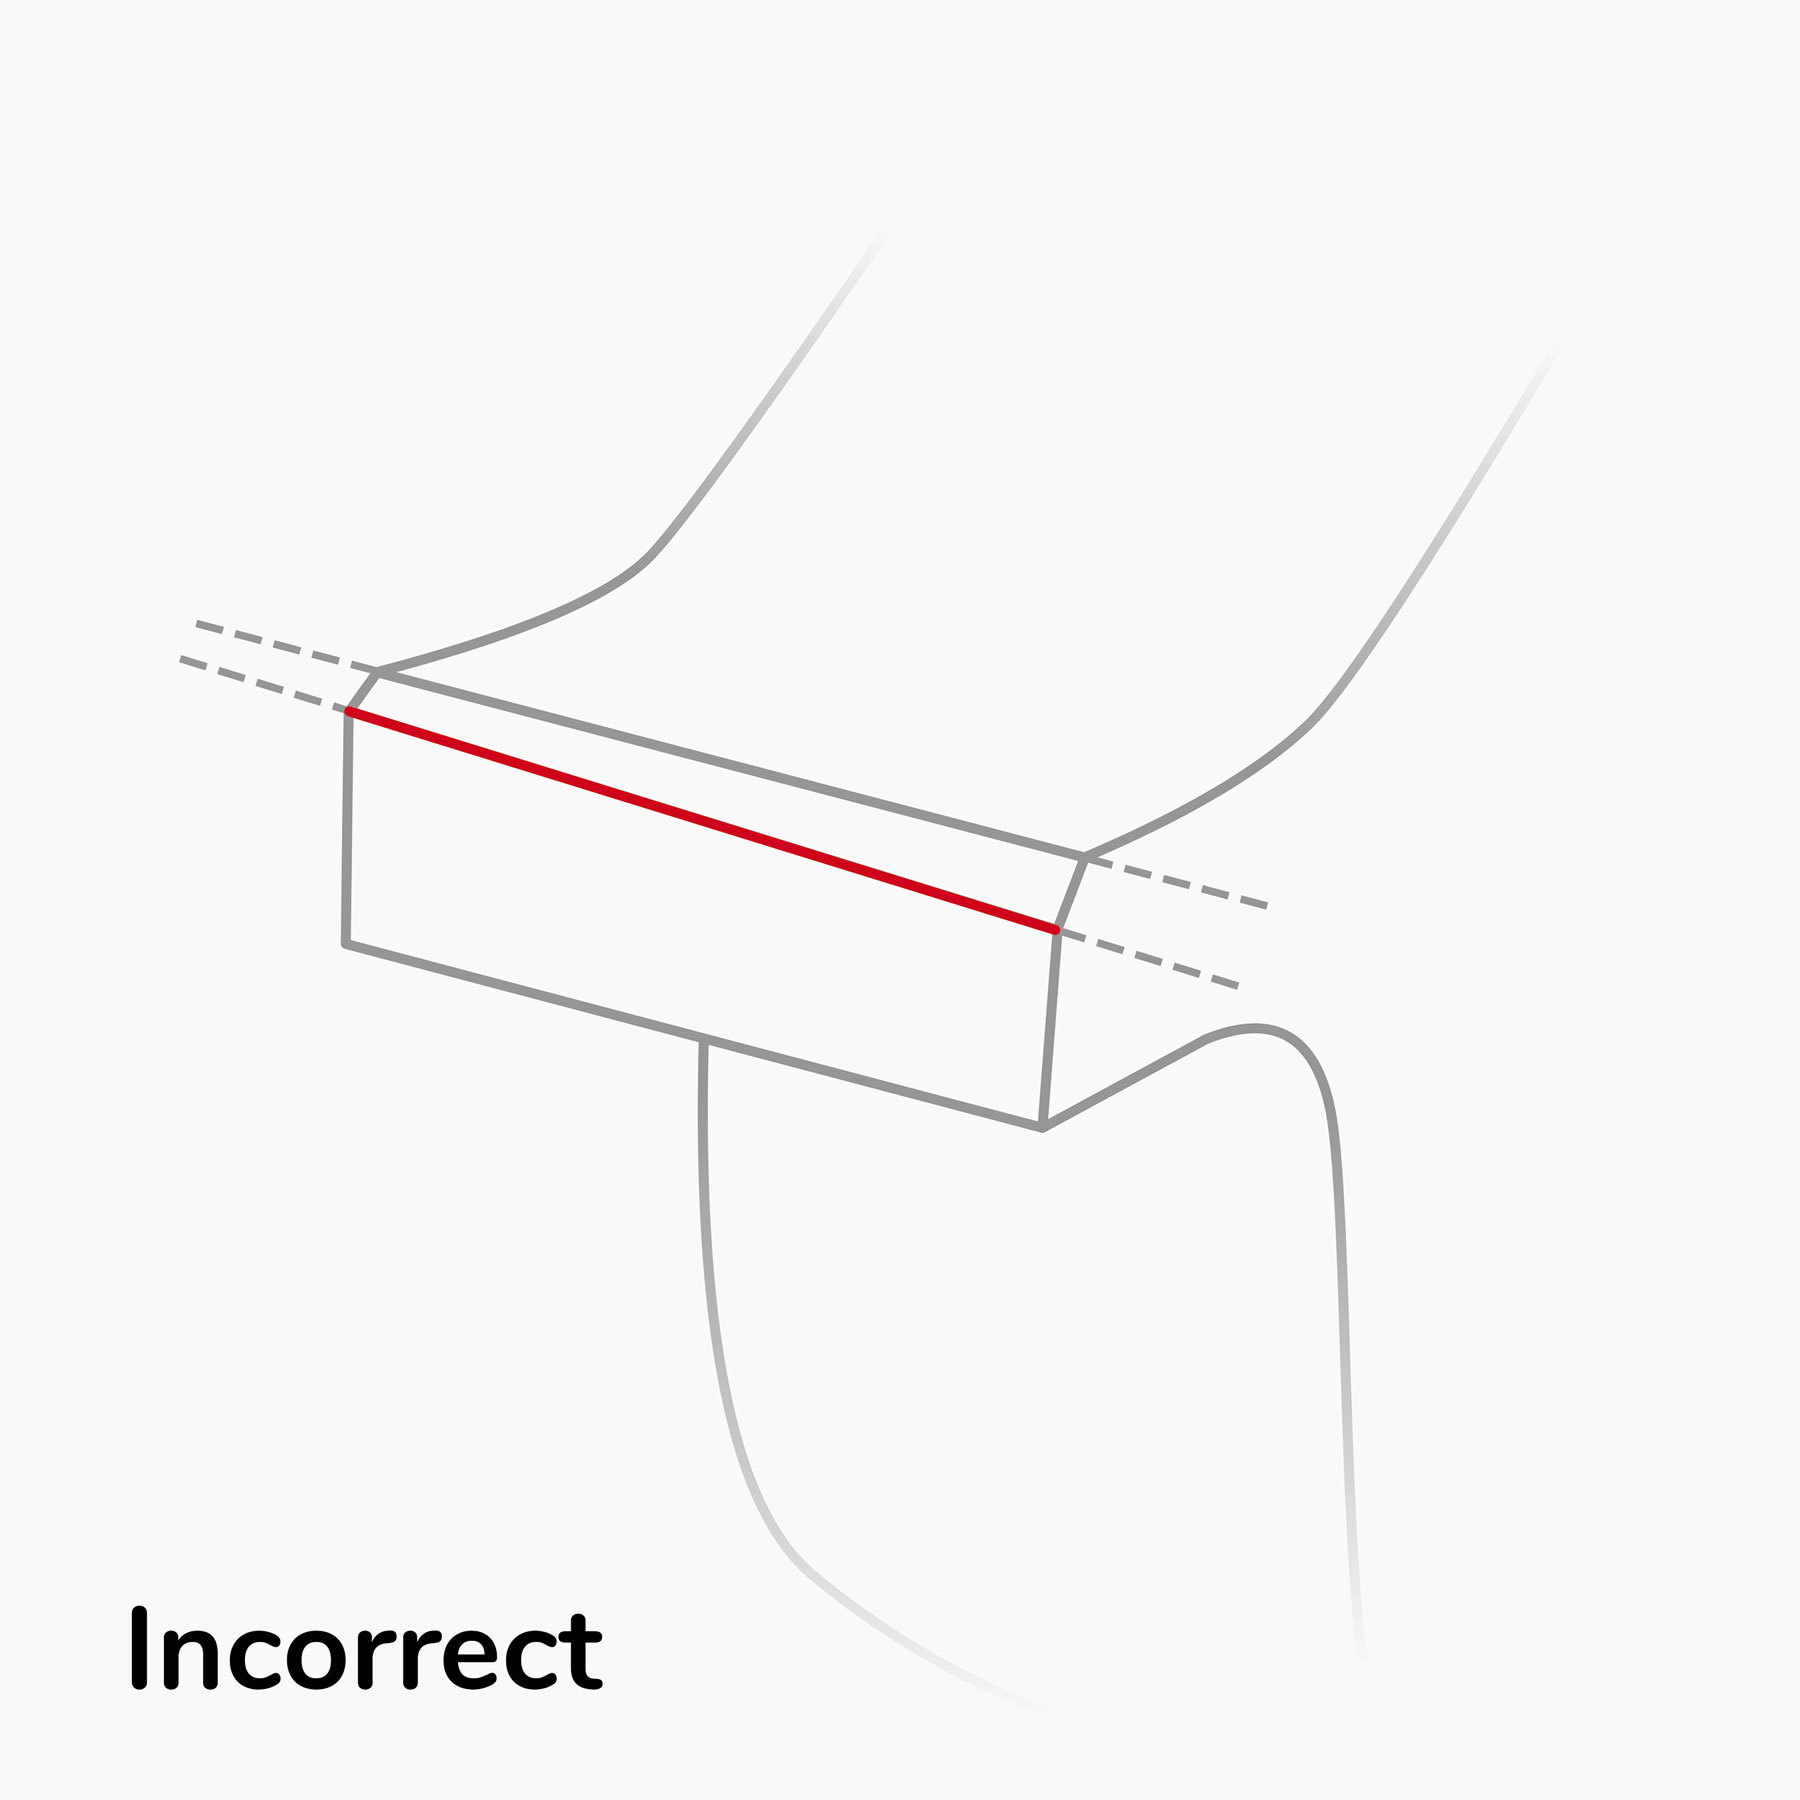
The exact angle of the chamfer is not as important as the consistency of that angle across the whole width of the trigger. Both long sides of the chamfer need to run parallel to each other. Ideally, one could build a jig to guide their file but I found that frequent visual inspections as you work are good enough.
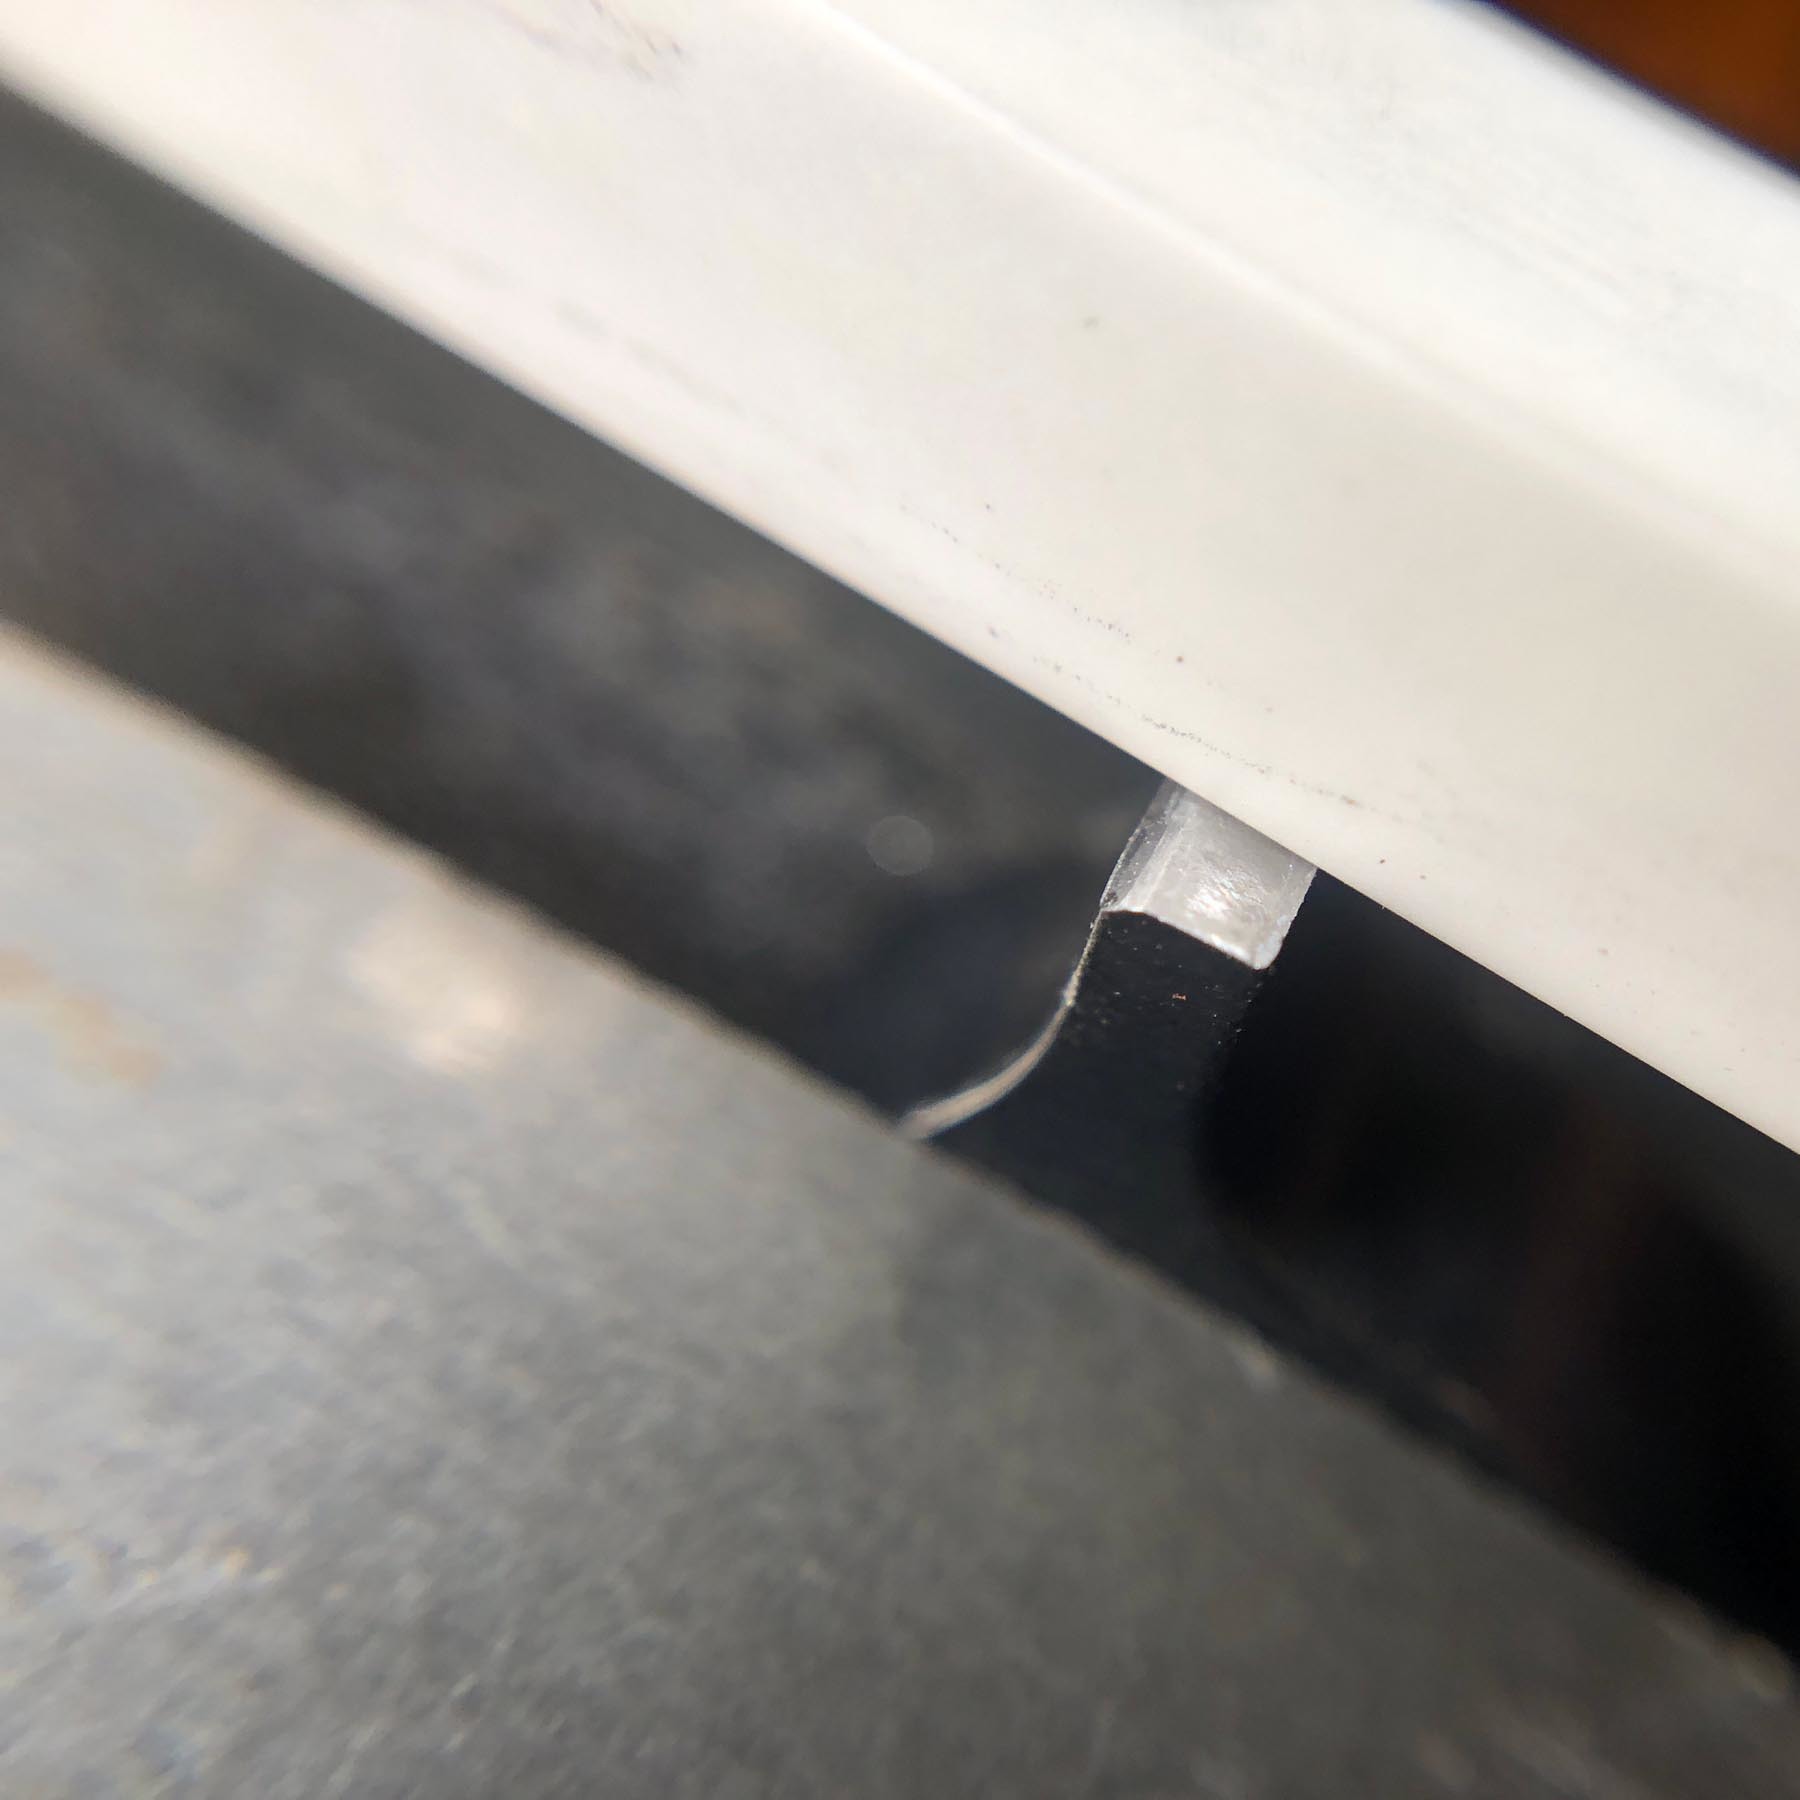
After creating a visible chamfer, I went ahead and polished the actual engagement surfaces with the same ceramic files. Apply gentle pressure and take it barely past the surface bluing, where you are just starting to expose the shiny metal. These parts are often case hardened and, if you are aggressive, you can file down too much and remove the hardening.
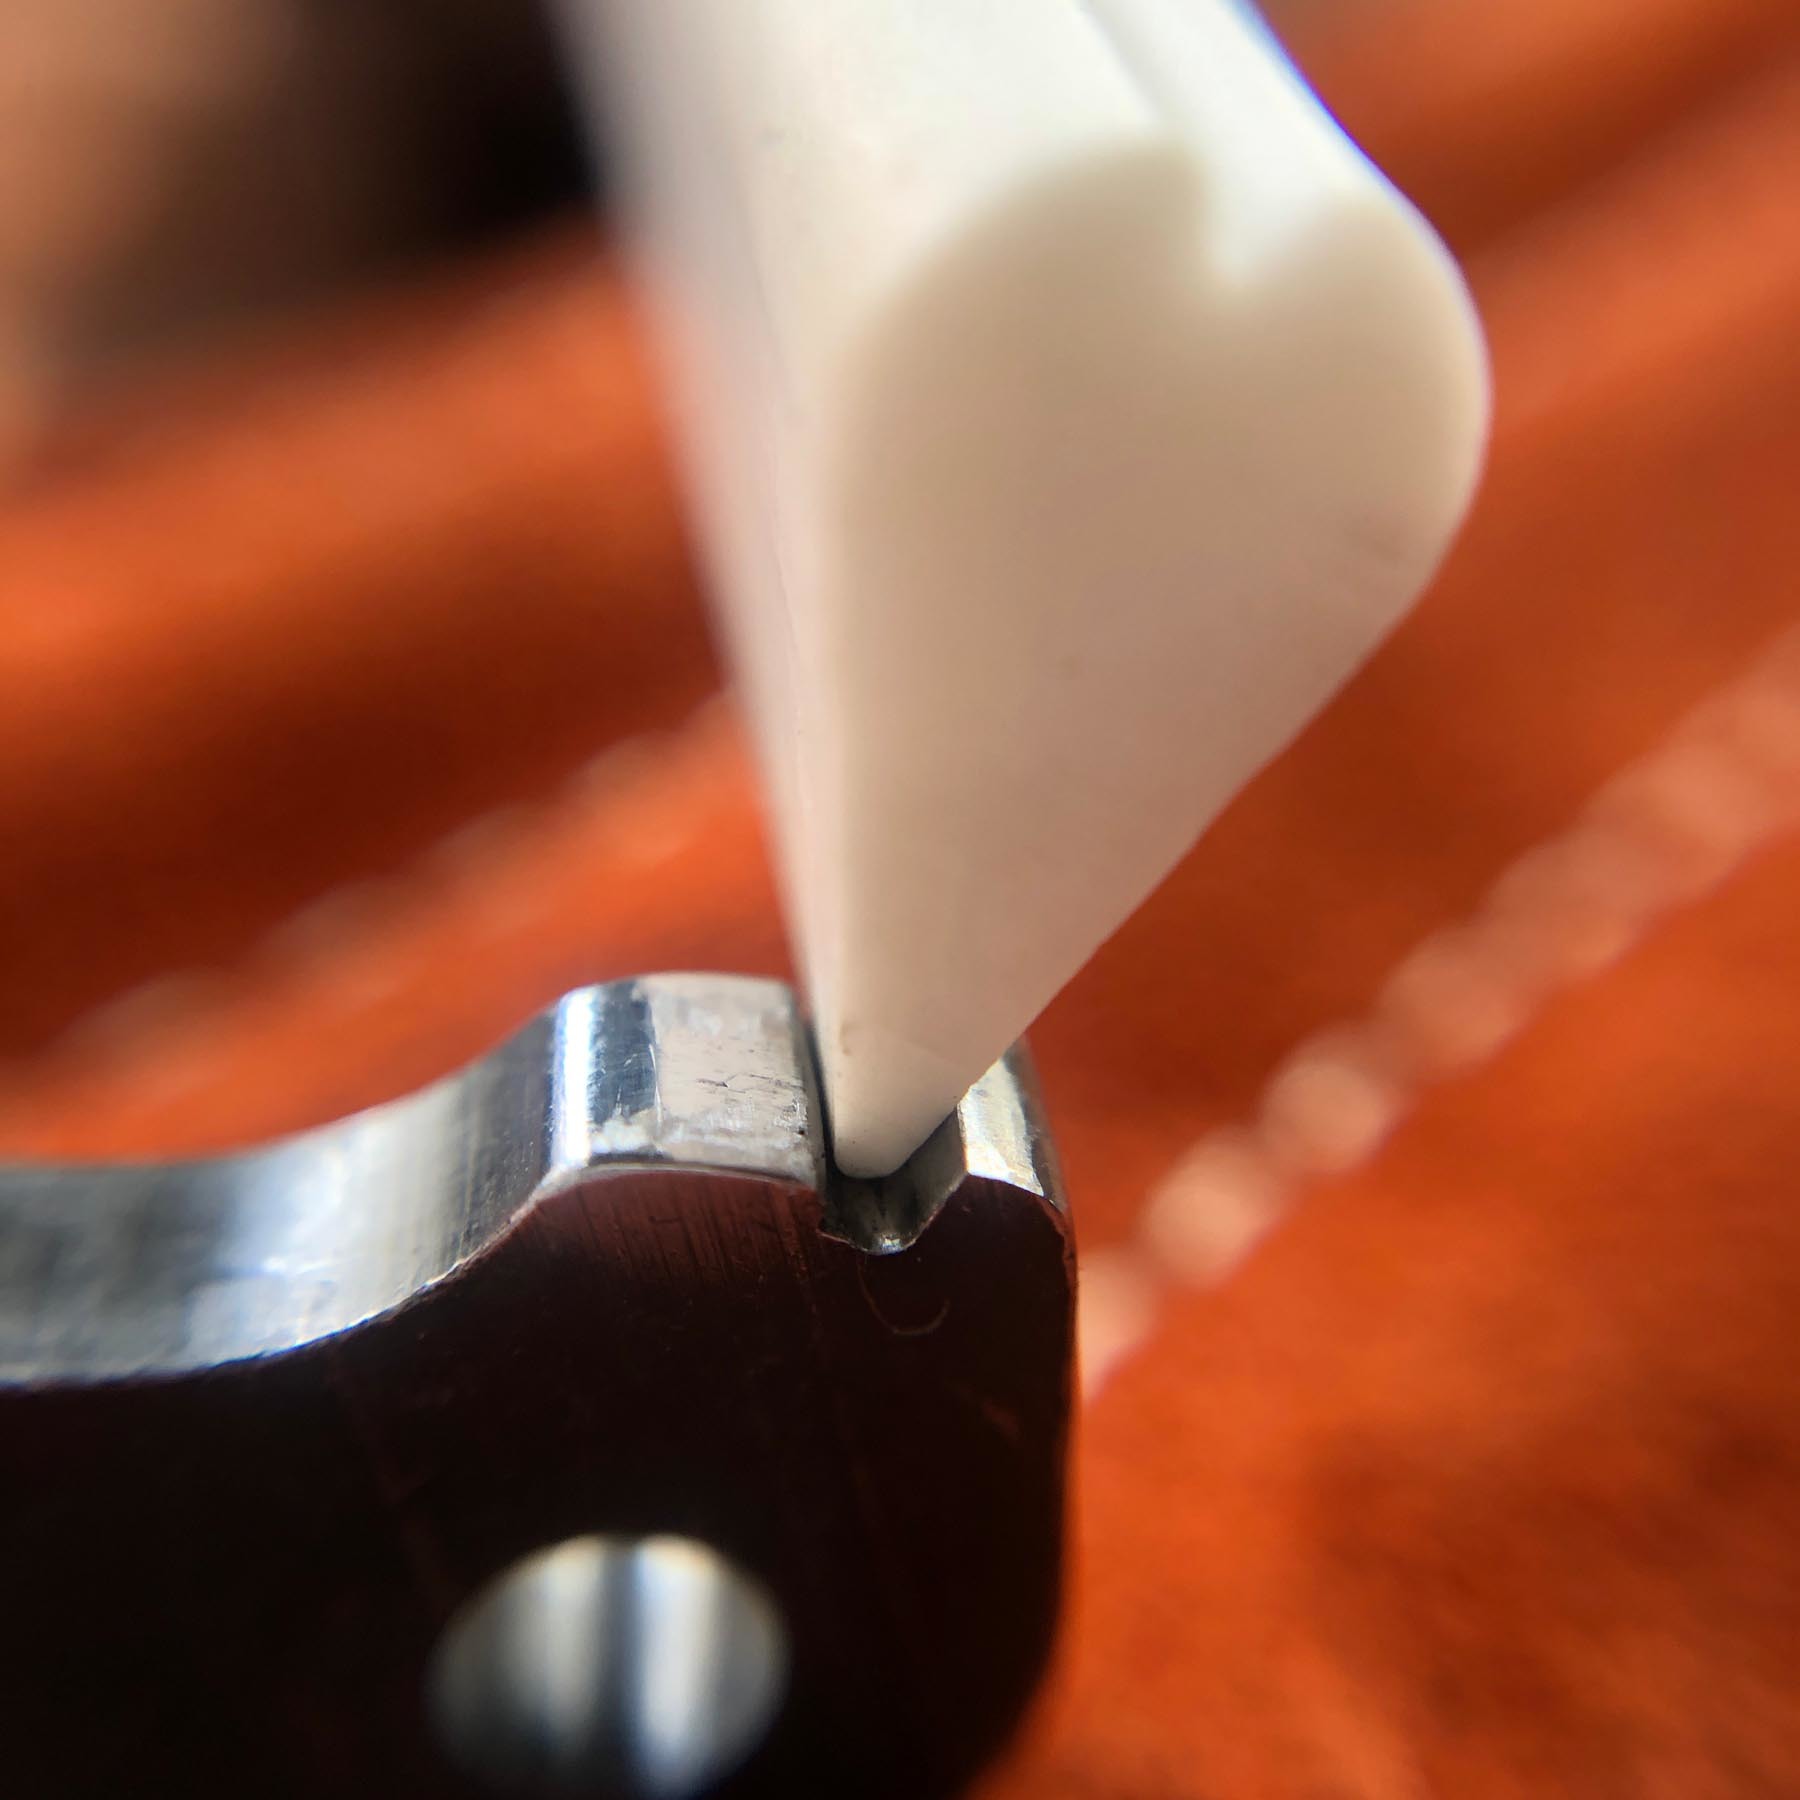
Note that the teardrop-shaped file was perfect for getting inside the notch in the hammer.
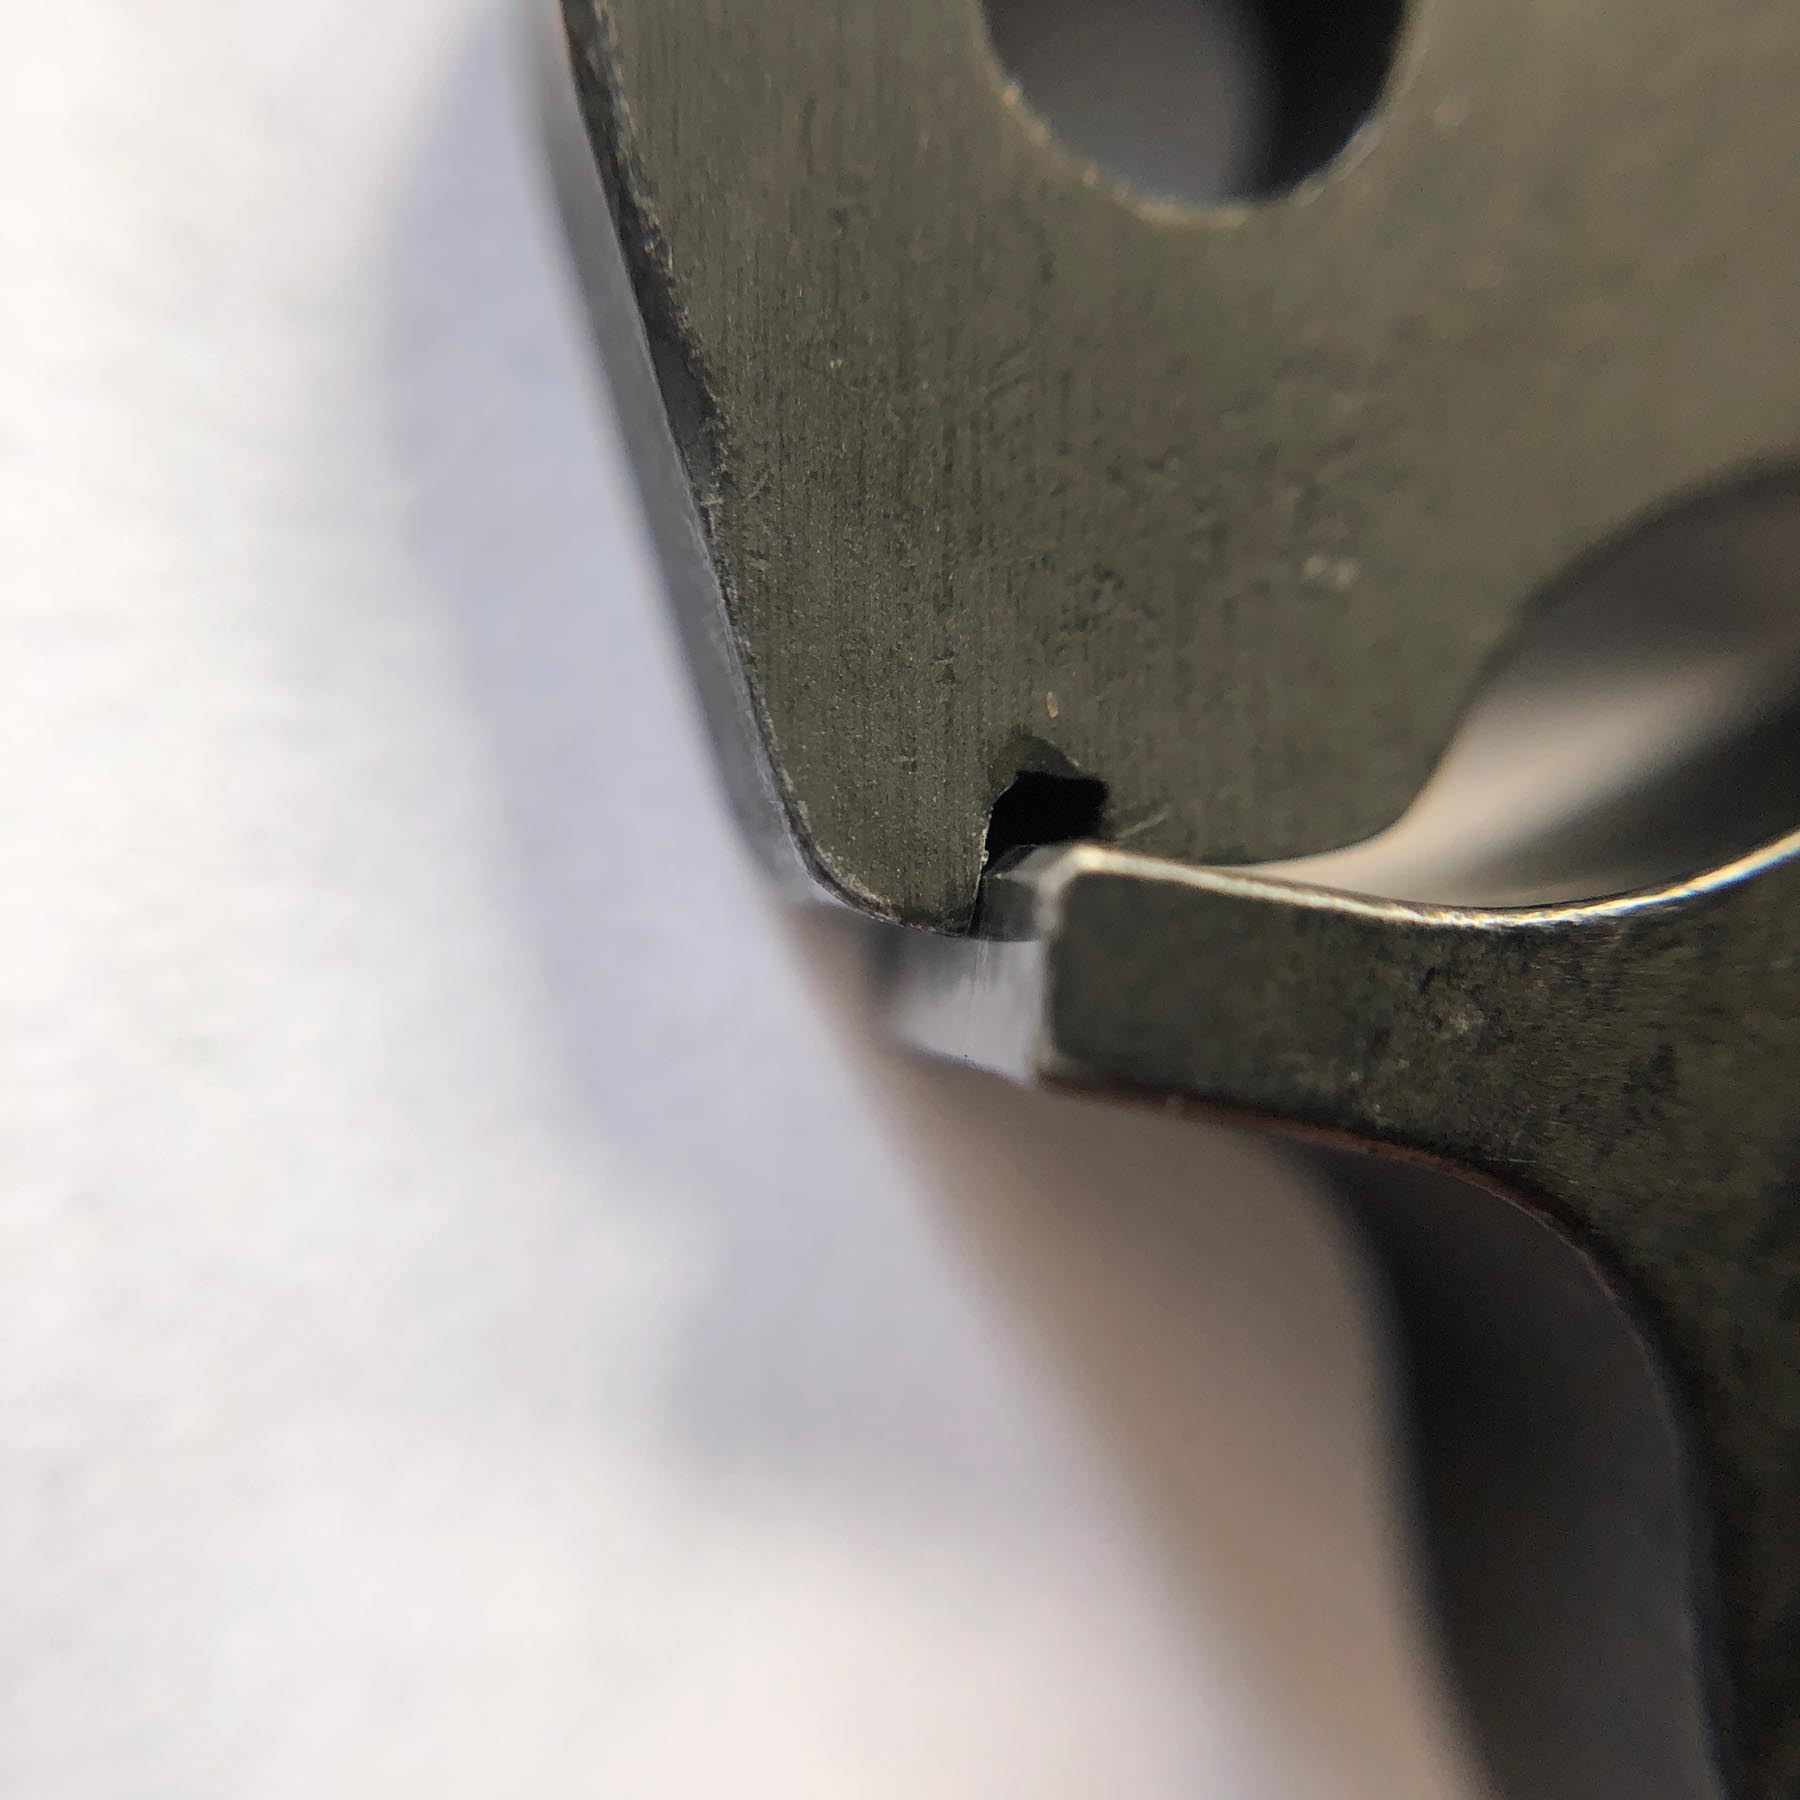
By creating the chamfer on the trigger, we have now effectively reduced the engagement surface between the trigger and the hammer.
Now, it is time to reassemble the trigger group and conduct the two tests I mentioned in the introduction. You will also be checking your progress by dry firing.
While it's a pain to reassemble, don't skimp on checking the trigger as often as possible. I must have reassembled the trigger group about five times until I was happy with the results.
In Conclusion
At the end, my trigger creep got reduced by at least 2/3, and pull weight settled at around 2.5lbs. Unlike with CZ 455, the trigger spring in the CZ 512 is not exactly "standard" shape and cannot be easily swapped for something from your local hardware shop. Additionally, compared with the bolt action CZ 455, there is just more interplay between the components in the semi-auto system and lightening the trigger spring can result in other components not actuating correctly.
I would also like to reiterate that I am by no means a professional or an experienced gunsmith, and I can't even play one on TV. Furthermore, I cannot stress enough how quickly one can go from a completely safe rifle to a rifle that will empty your 10-round magazine by you just looking at it. I am opening my guide to public comments so please leave your feedback and questions below.
So is there any details on getting the trigger sub assembly back together again and installed?
I just was wondering, thinking about attempting a trigger job on the CZ 512 magnum
Myself.
Thanks for any feedback.